Leaderboard


Popular Content
Showing content with the highest reputation on 04/23/22 in Posts
-
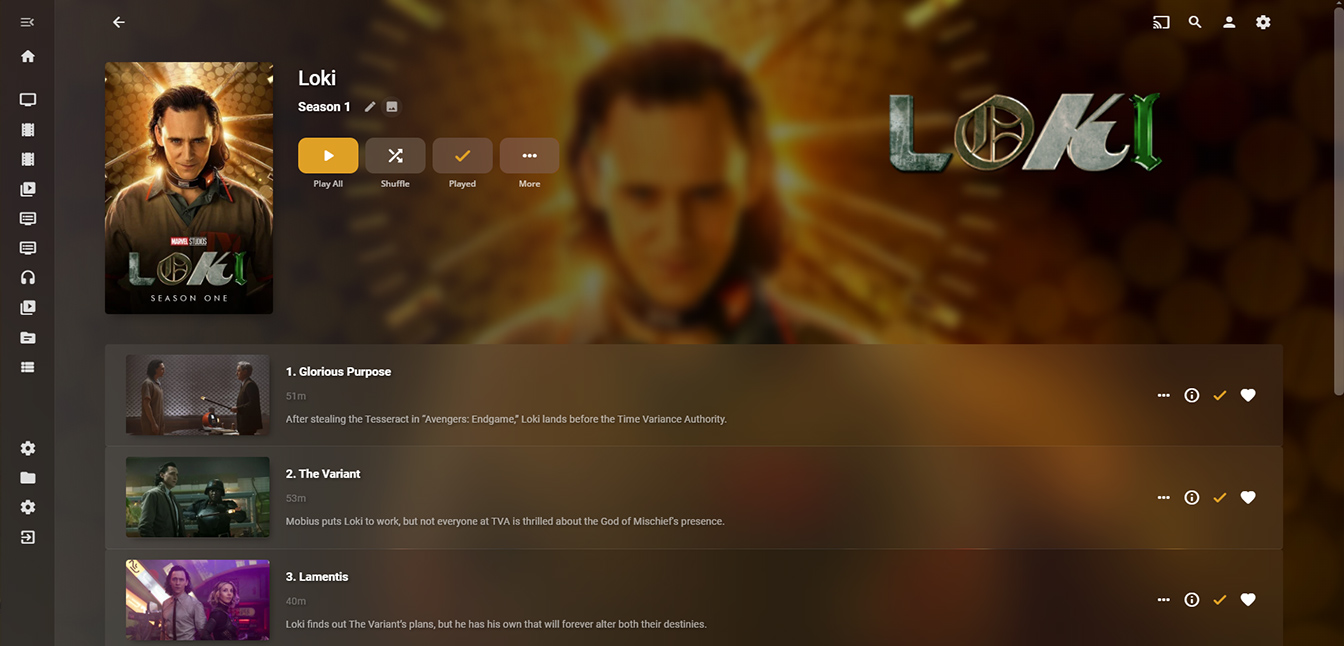
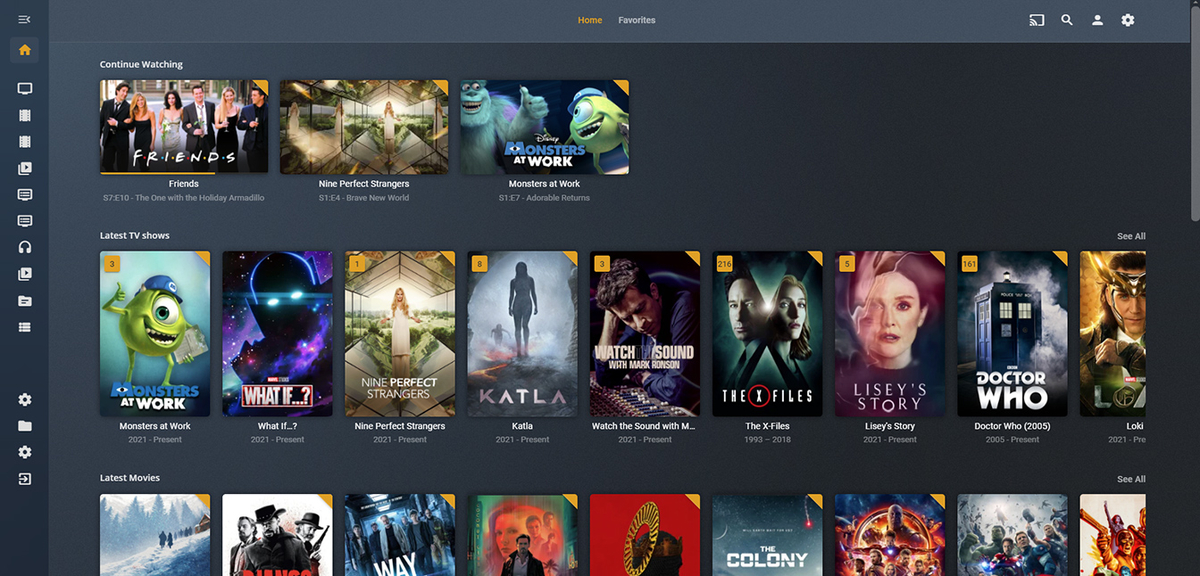
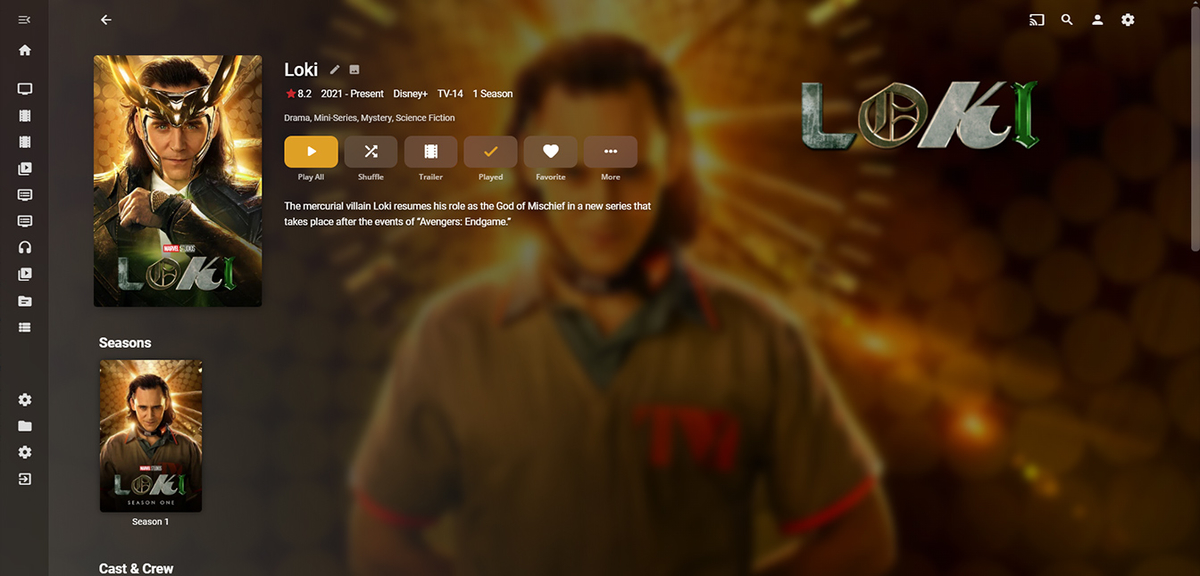
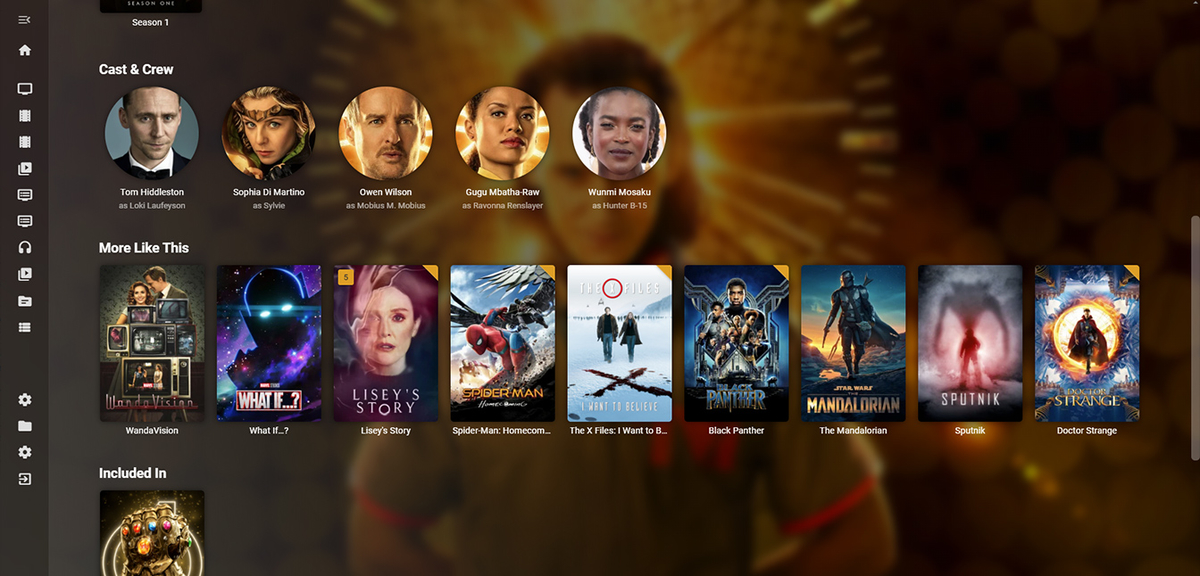
I moved from Plex to Emby and even though I think Emby is superior in its flexibility there are some things I like better with Plex, especially in terms of its looks. This theme is trying to fix that by making it a bit more similar to Plex but with some, in my opinion, improvements. The CSS is attached to this post for anyone interested and below are some screens to show it off Good to know I only use Chrome so I can't guarantee this CSS works as expected in other browsers. If you want the sidebar menu to look like in the screens, make sure to pin the sidebar. Watched badge/banderoll is inverted which means that the badge will not be shown if media have been watched, like in Plex. For desired look, please use the "Dark" theme for both Theme & Settings theme in the display settings. Emby-Stable-style-v3.6.txt


 1 point
 -
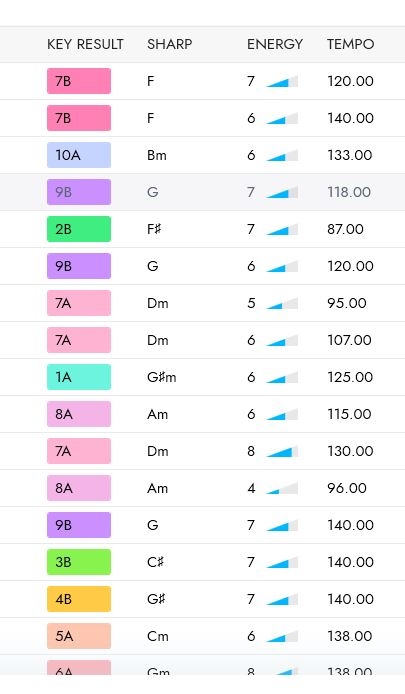
Hi, Could you please add to the list and general view, BPM, key & energy level that can be found in MP3 tags? Also, possibility to sort and search by BPM, key & energy level. Is it possible for users to have their own playlists?
 1 point
 -
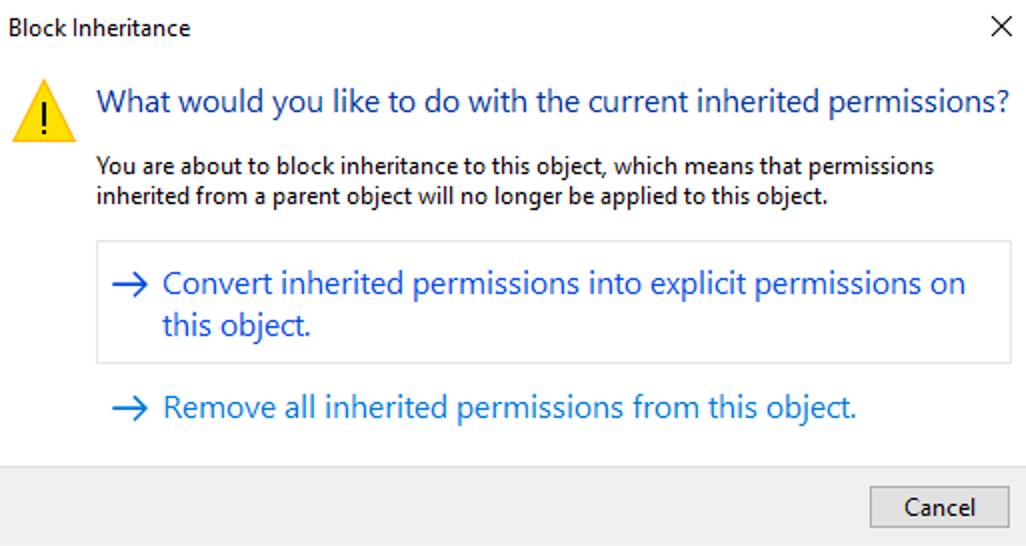
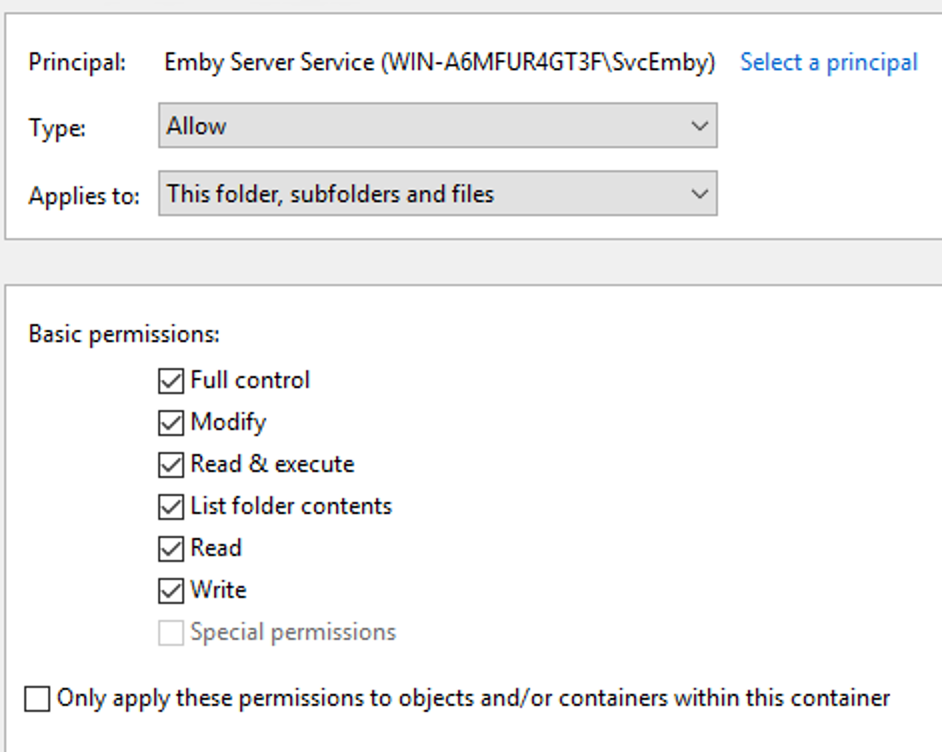
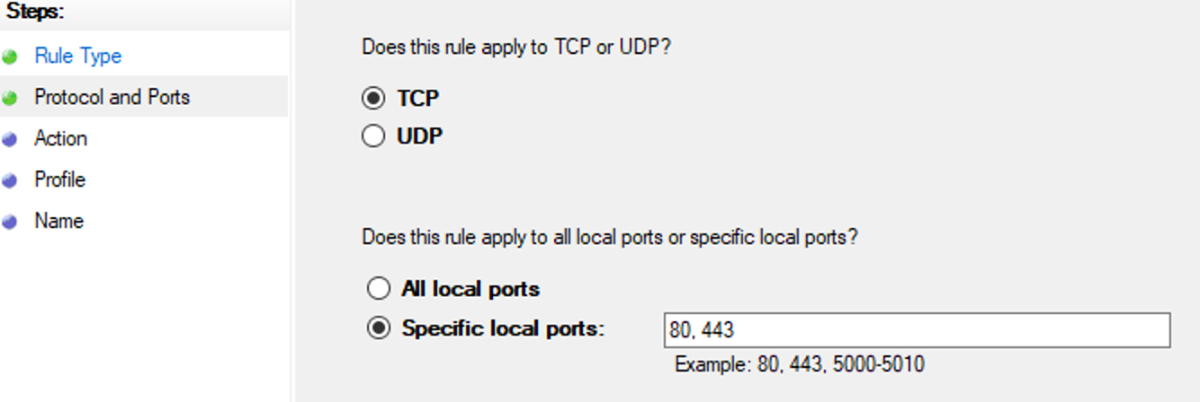
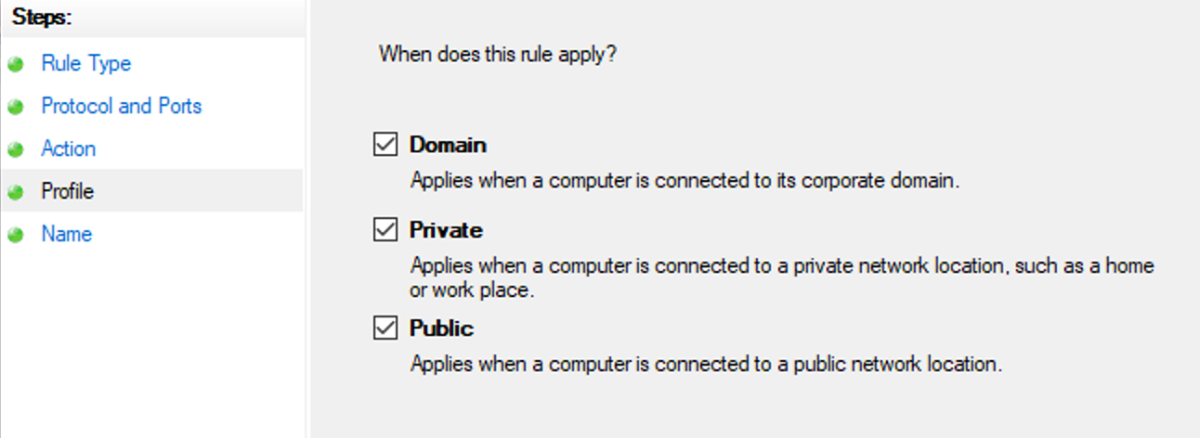
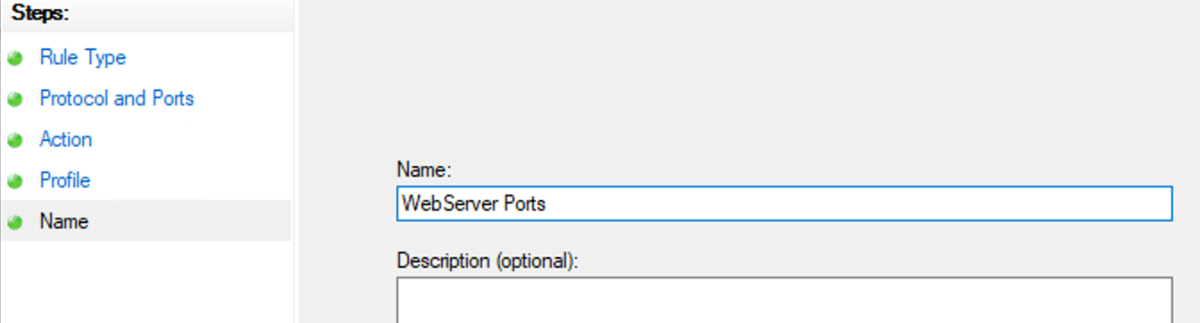
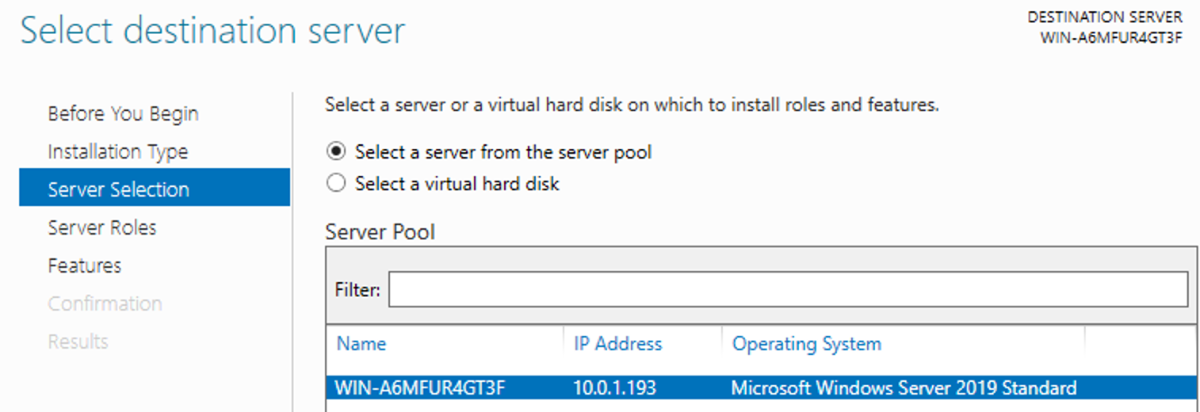
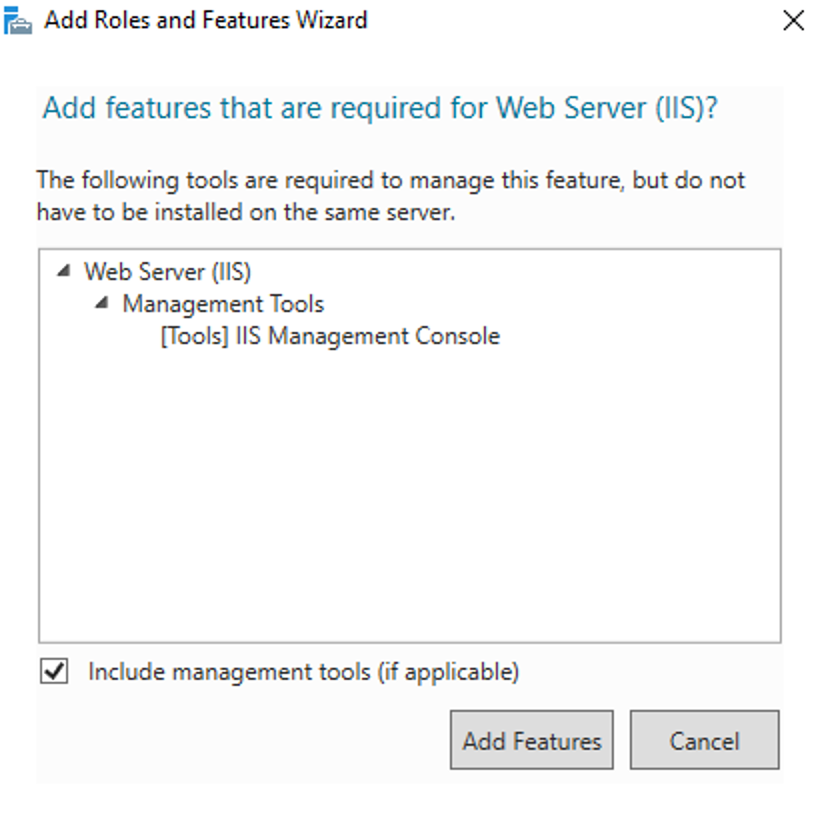
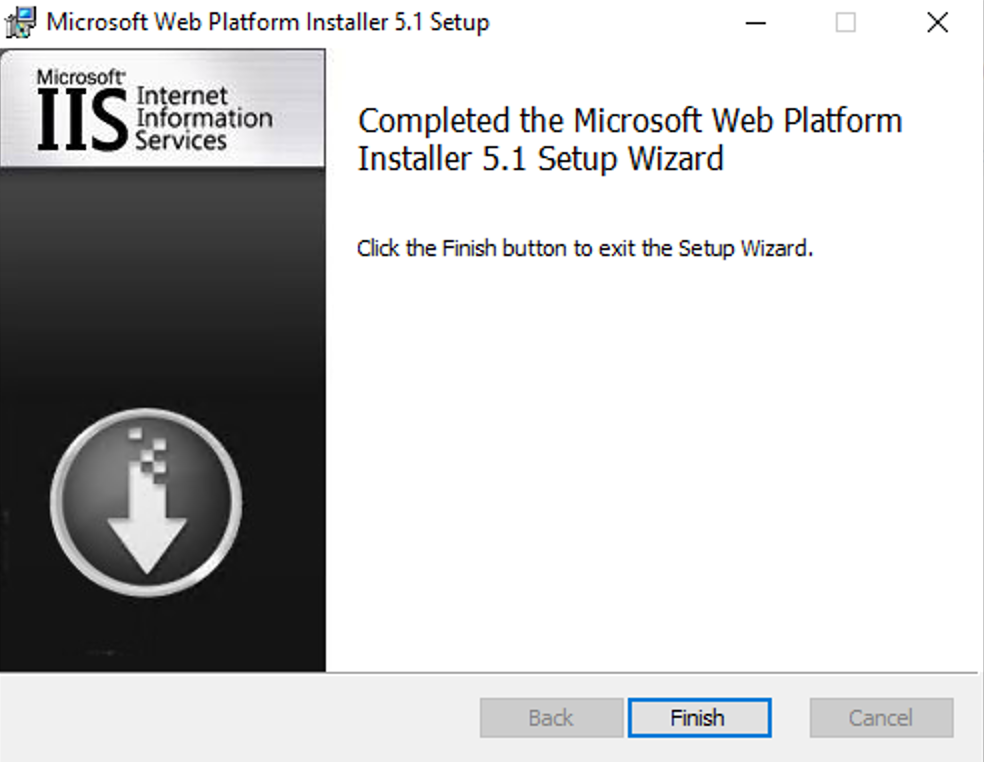
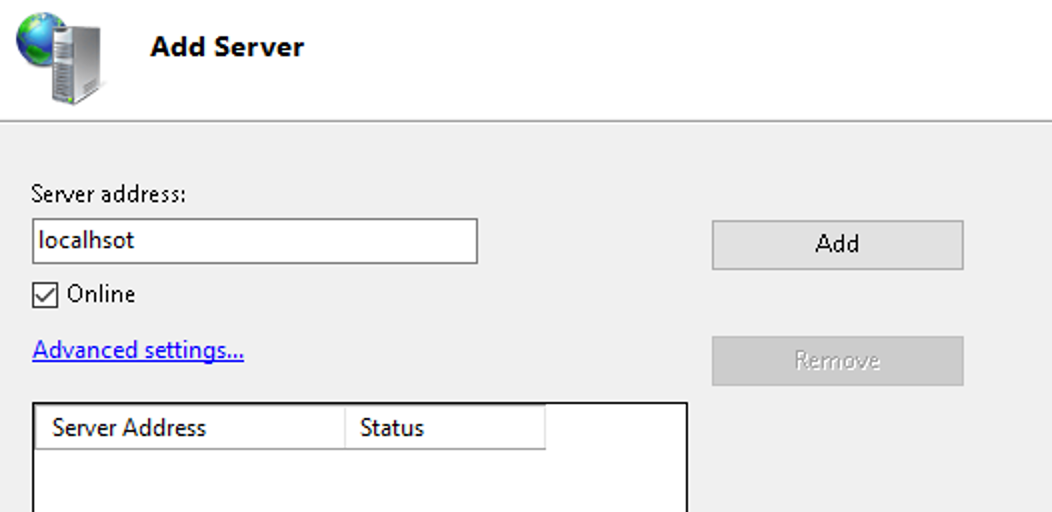
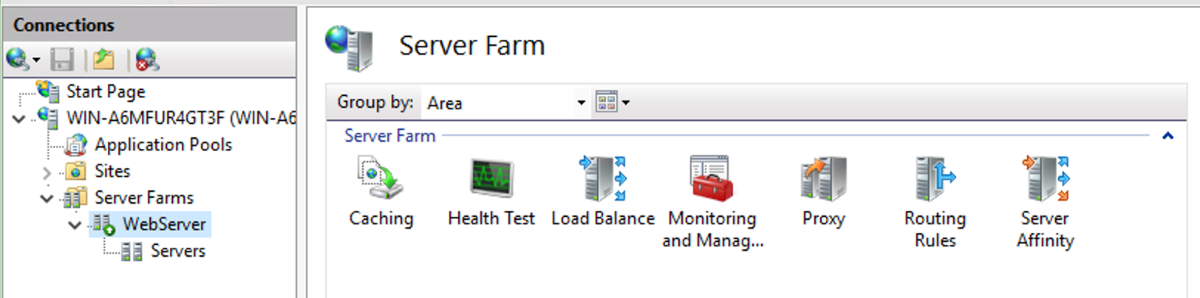
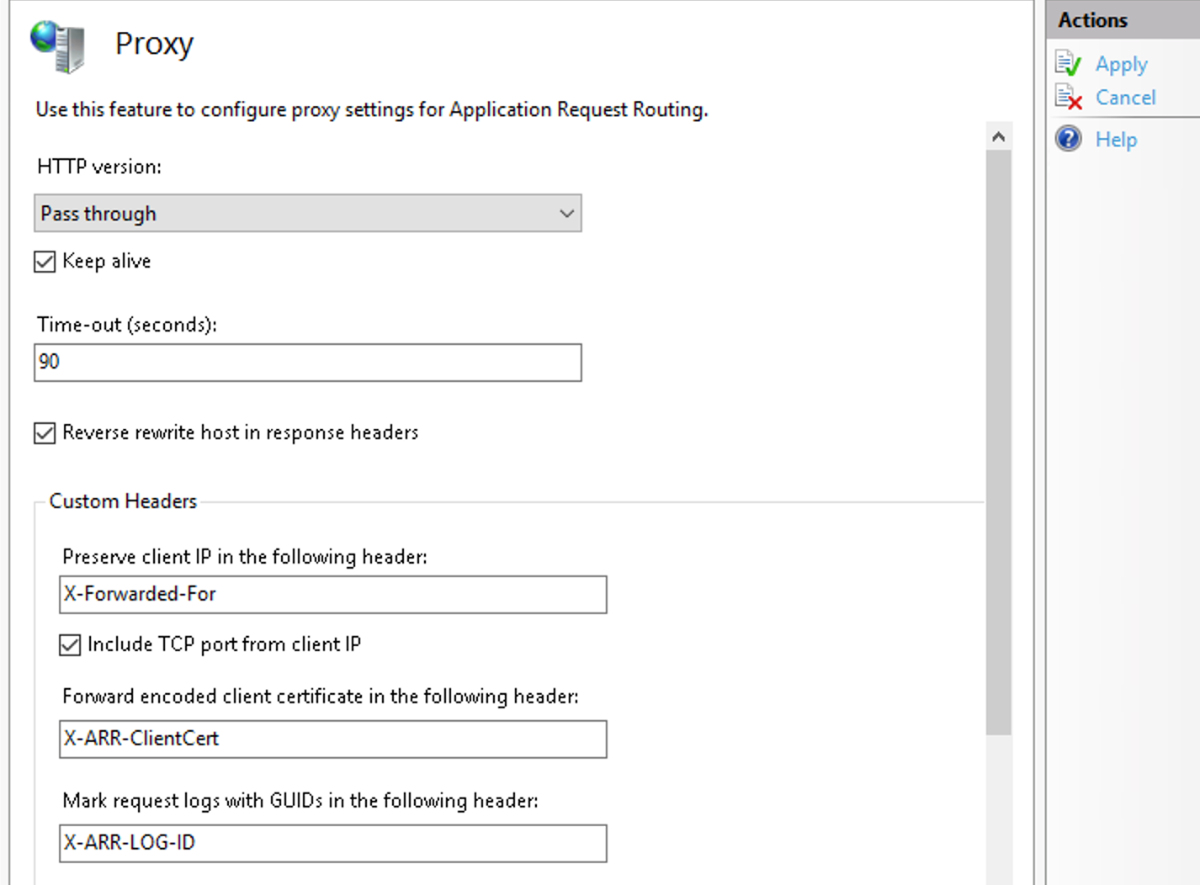
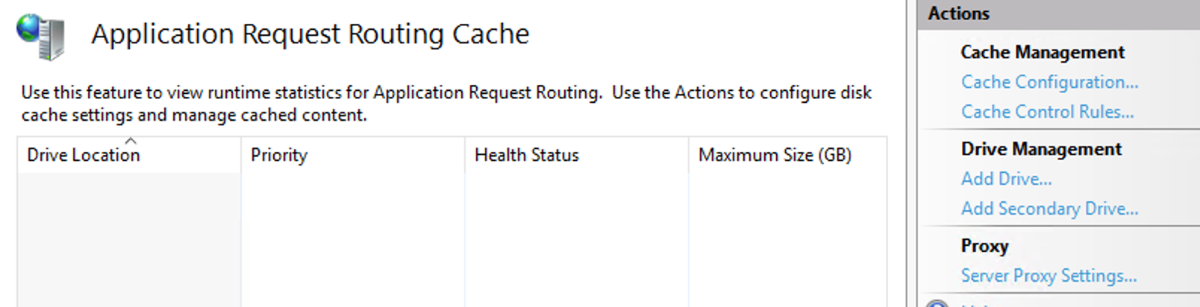
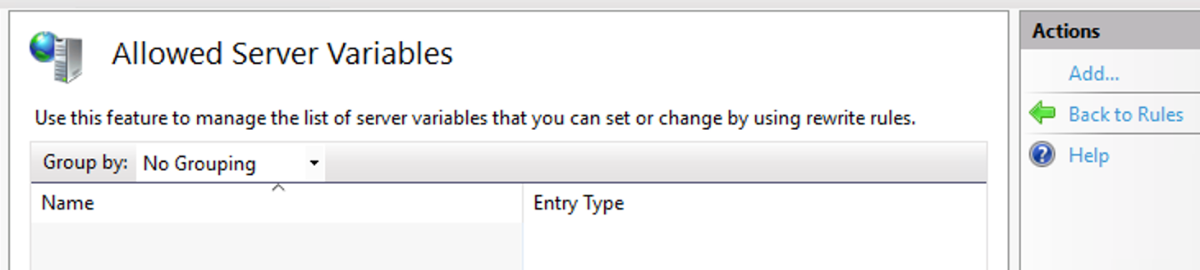
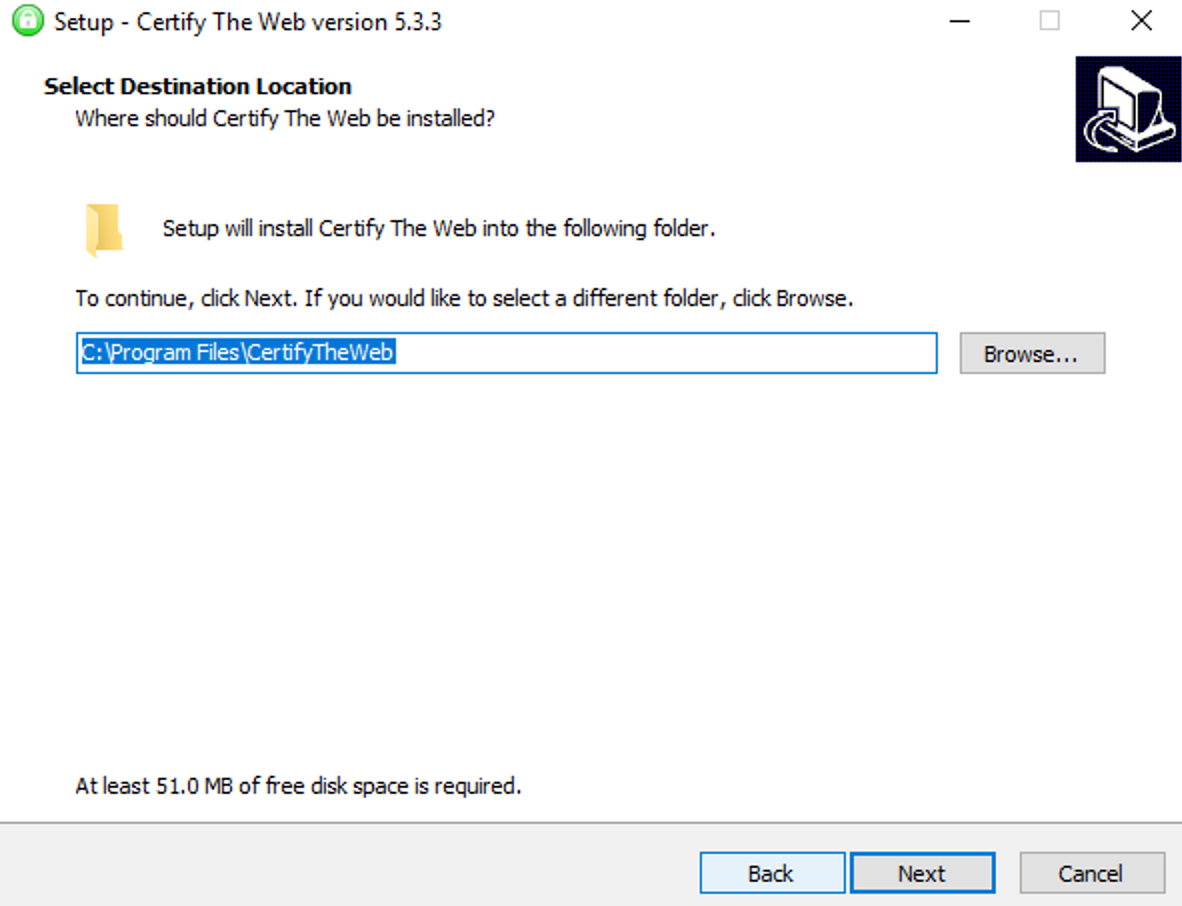
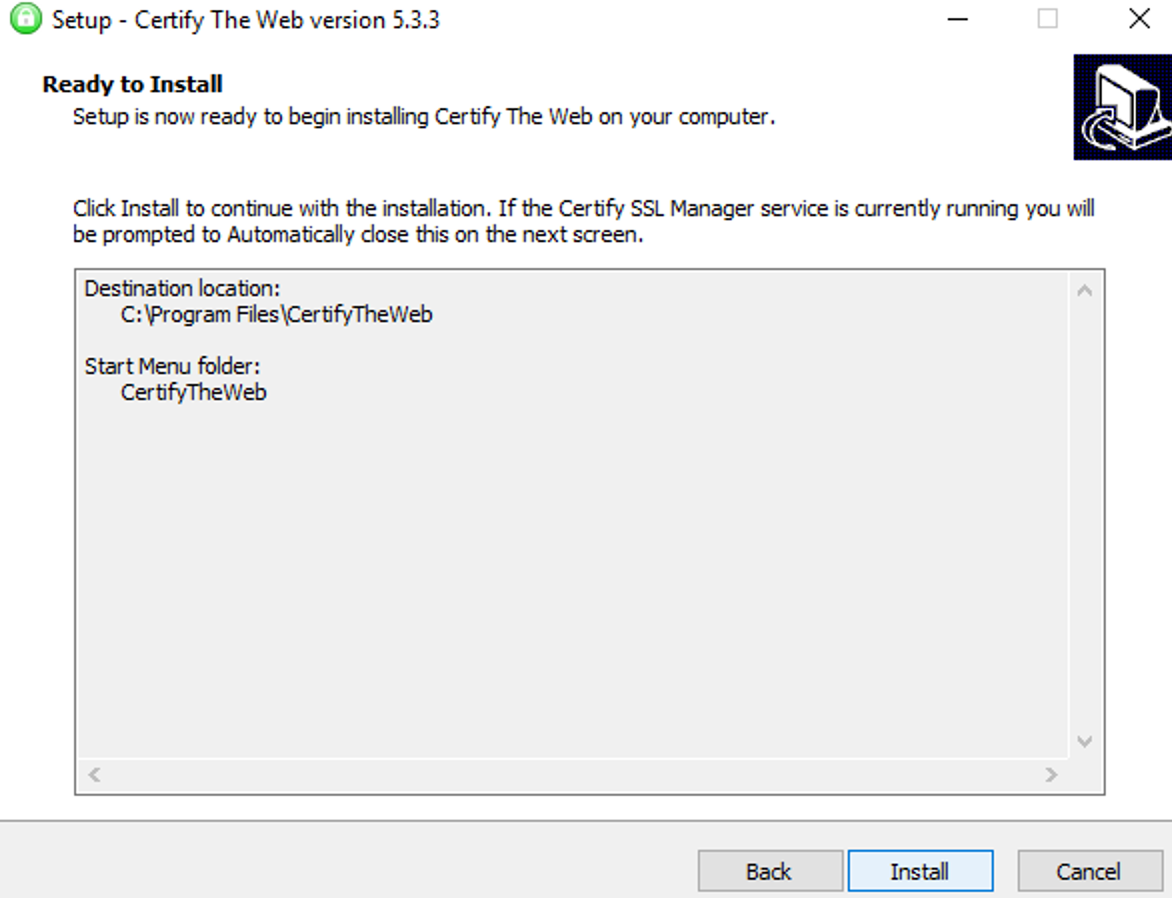
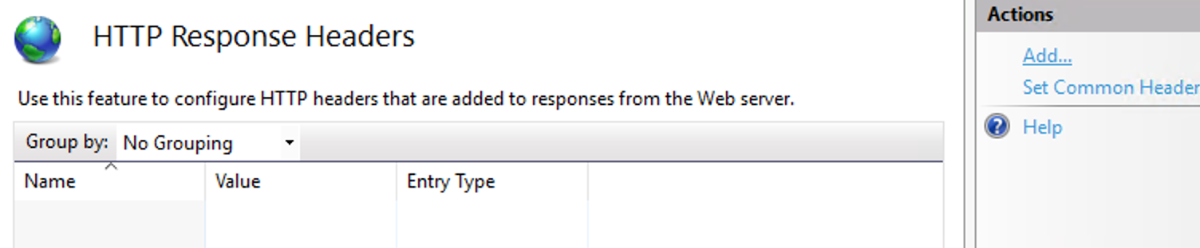
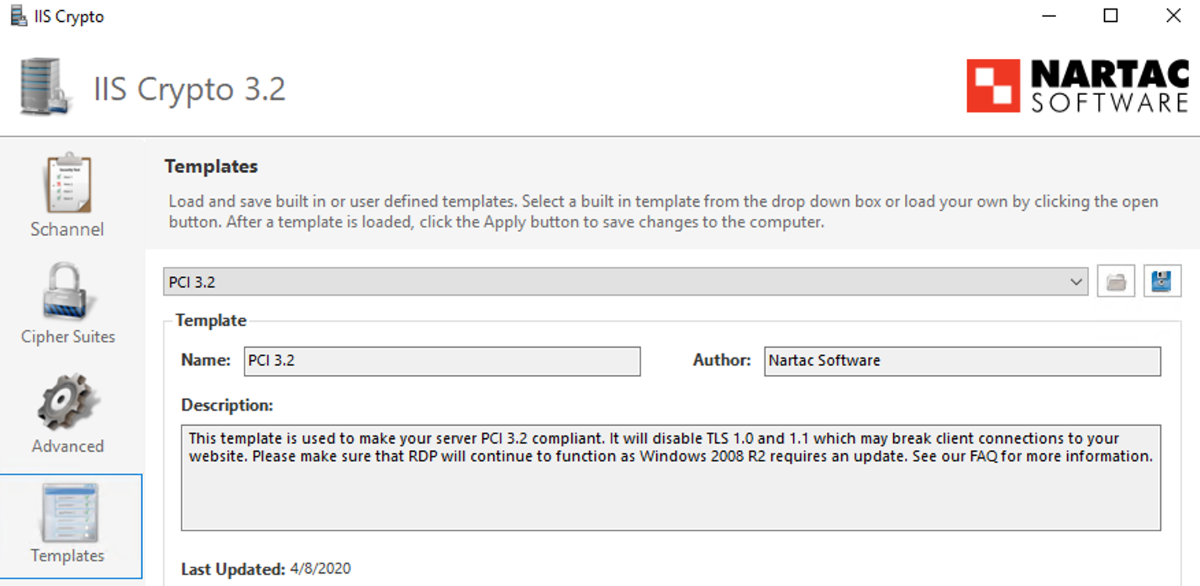
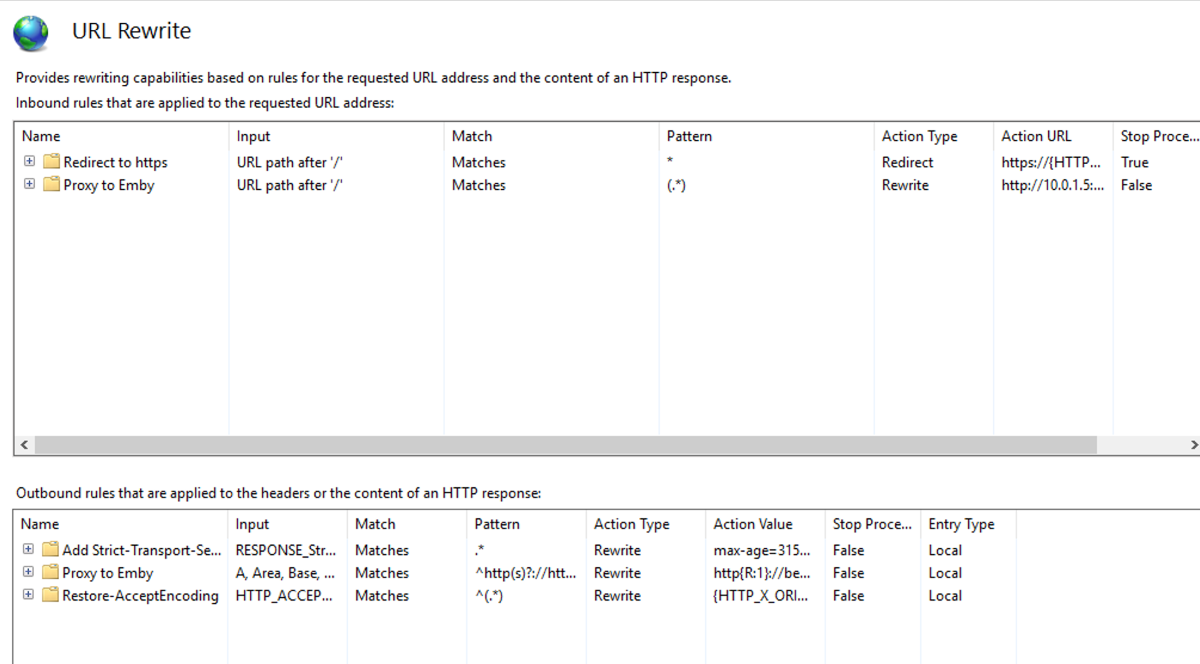
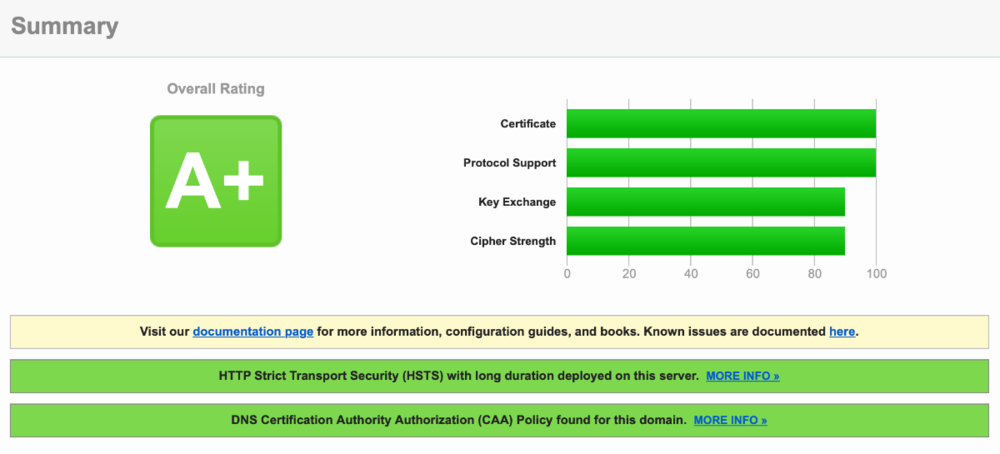
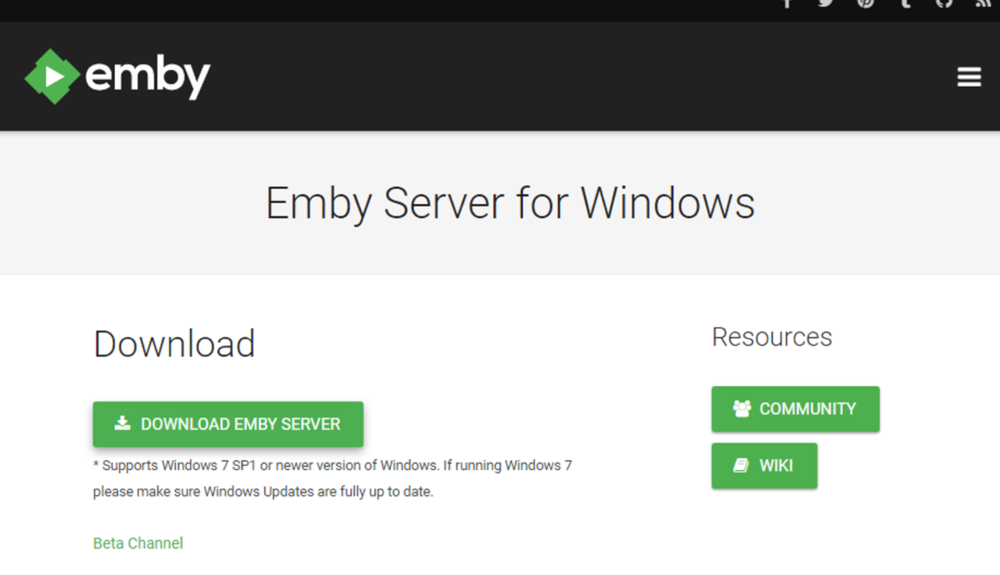
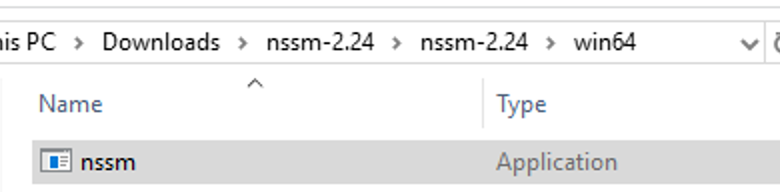
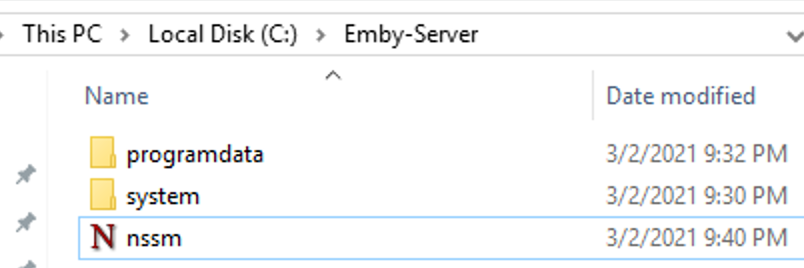
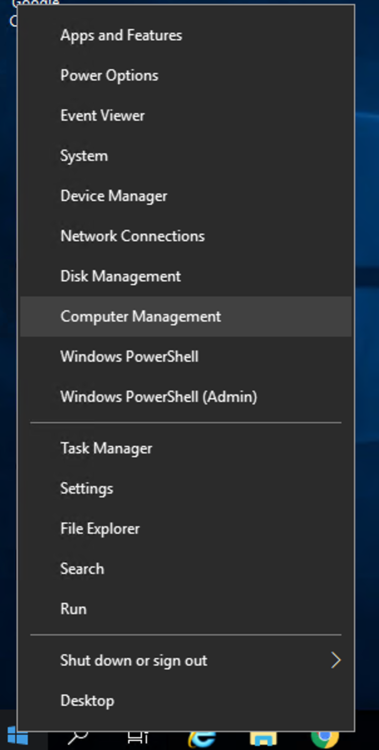
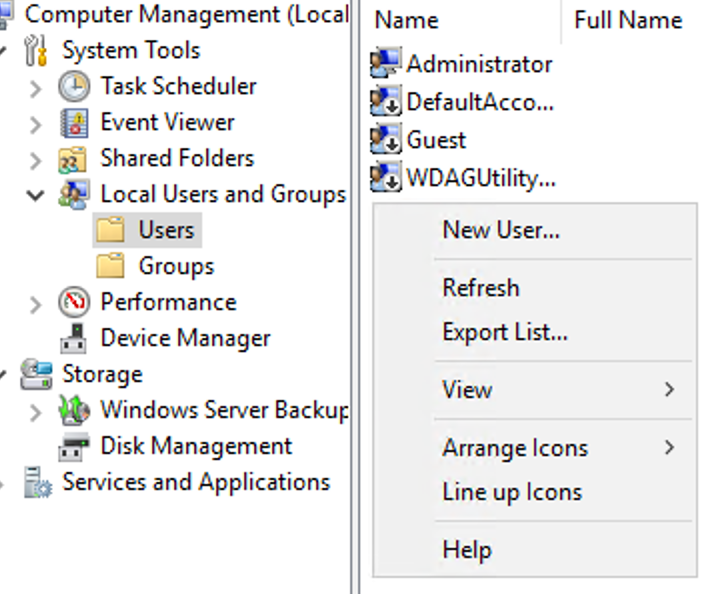
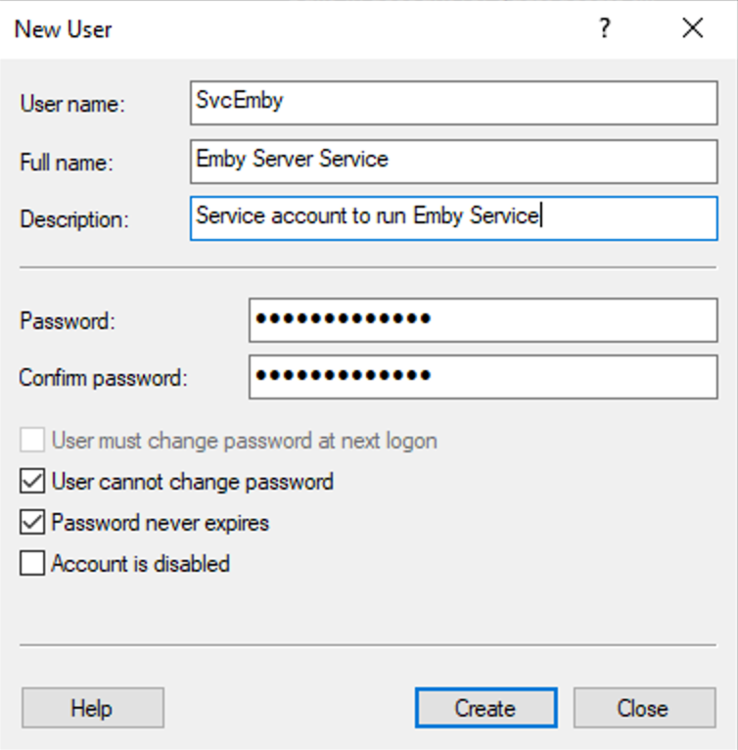
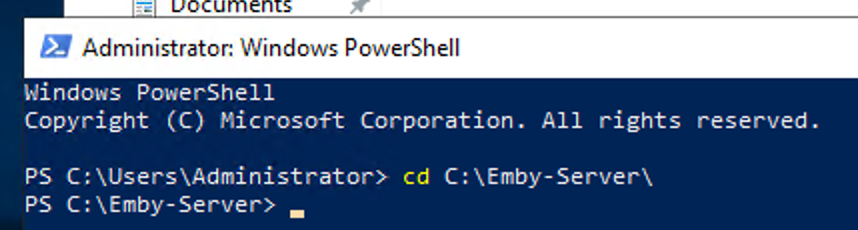
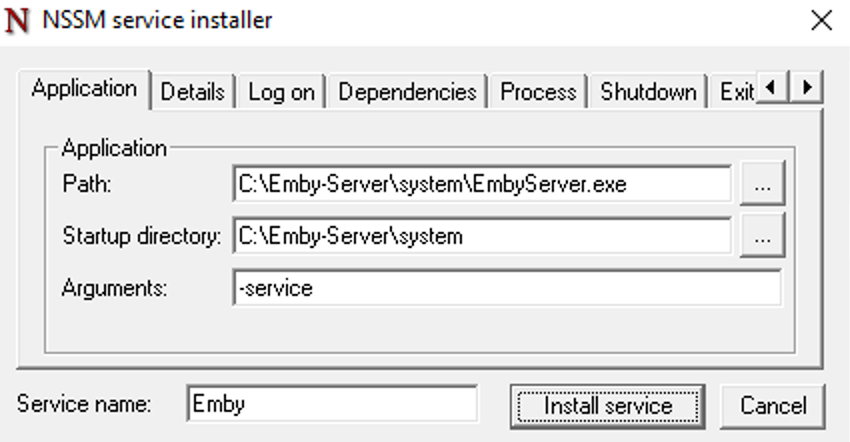
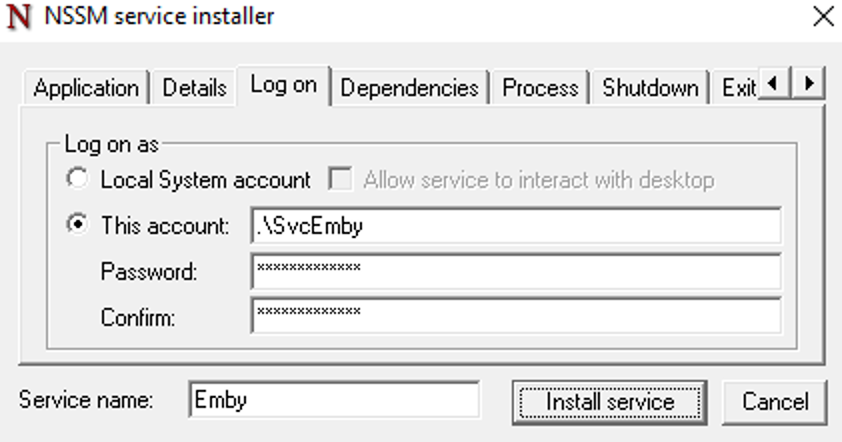
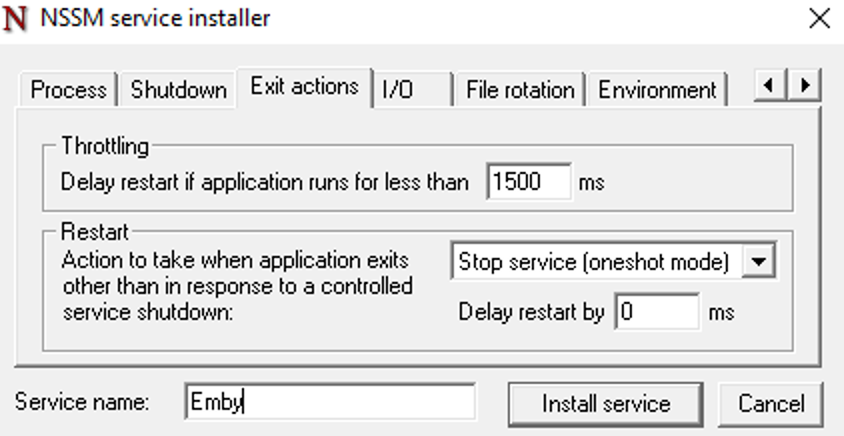
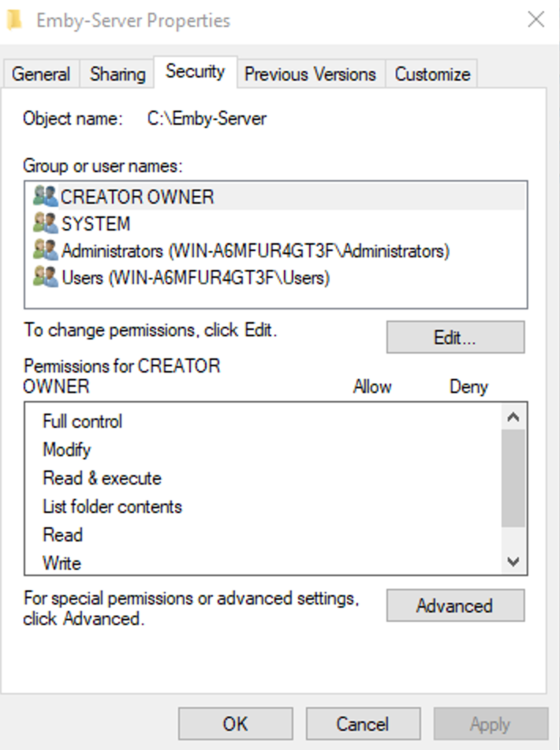
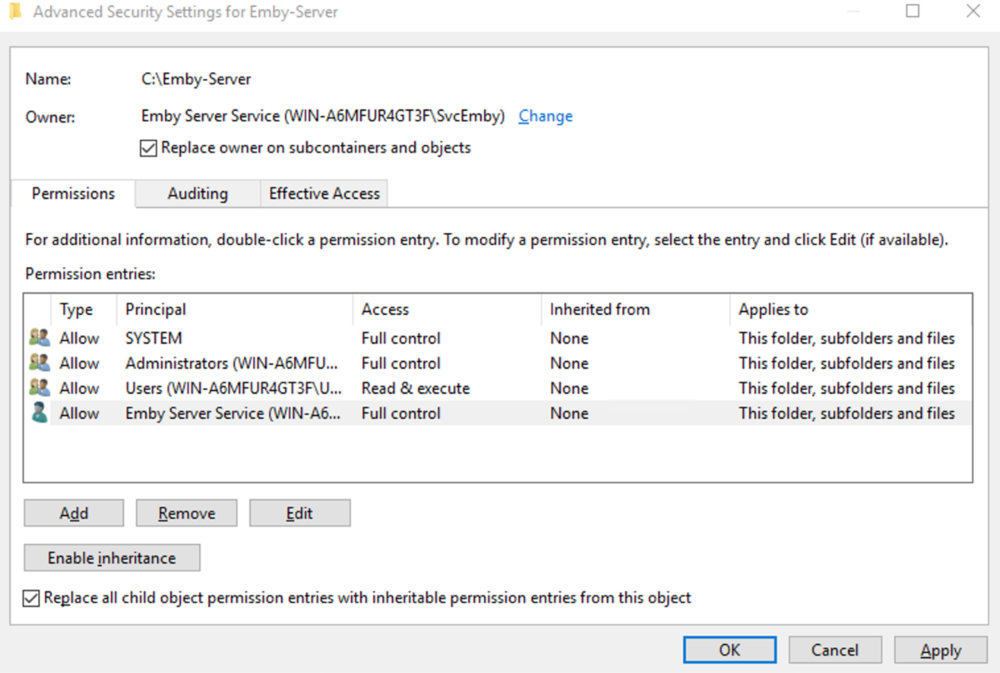
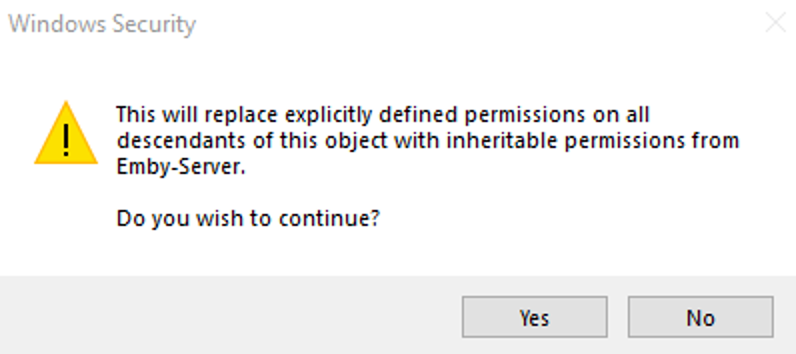
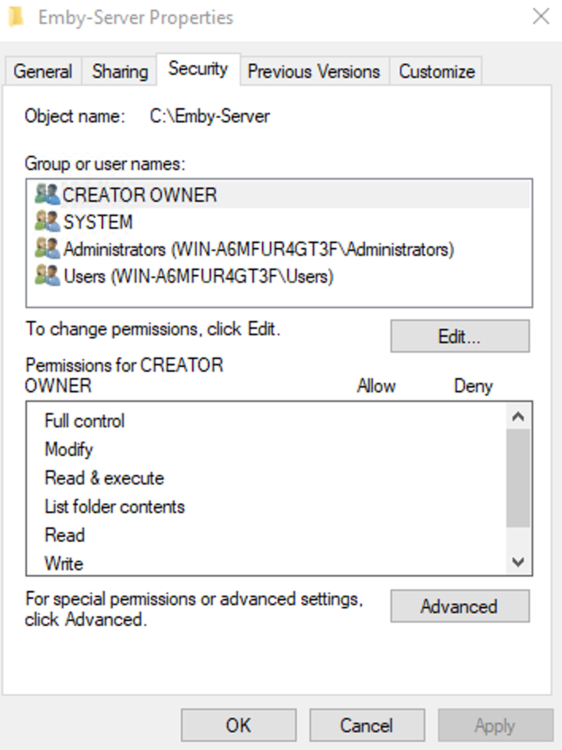
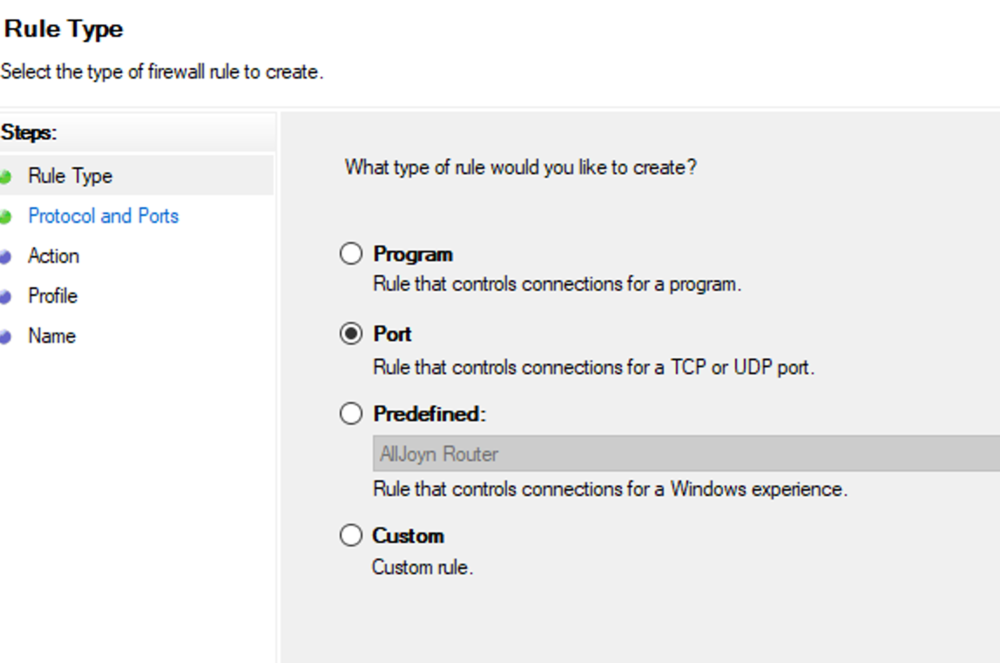
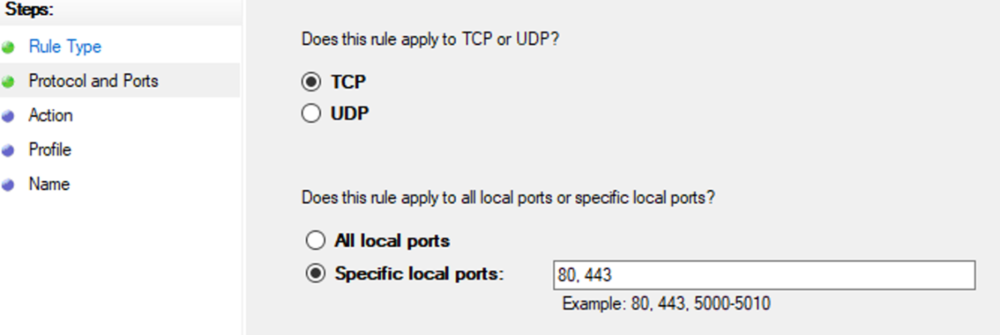
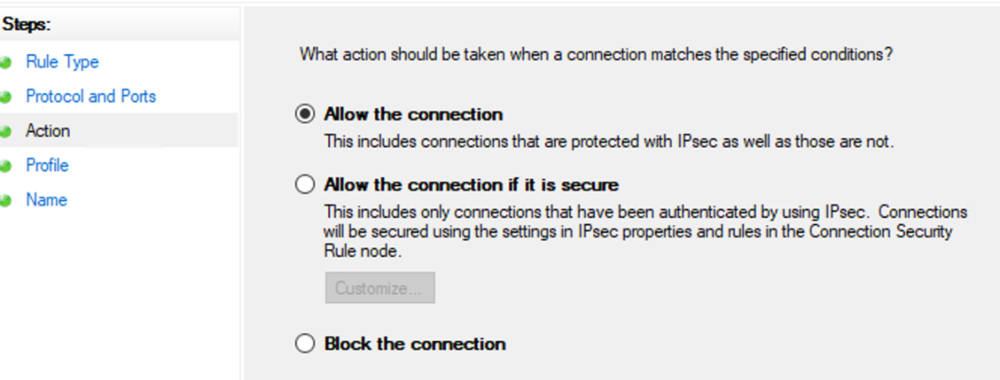
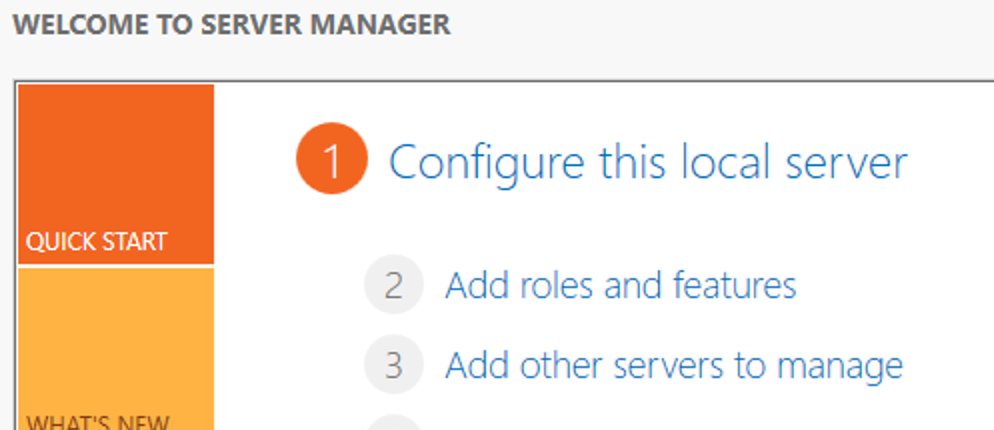
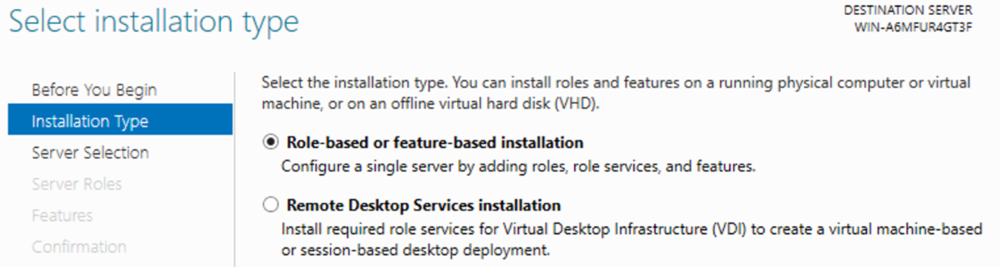
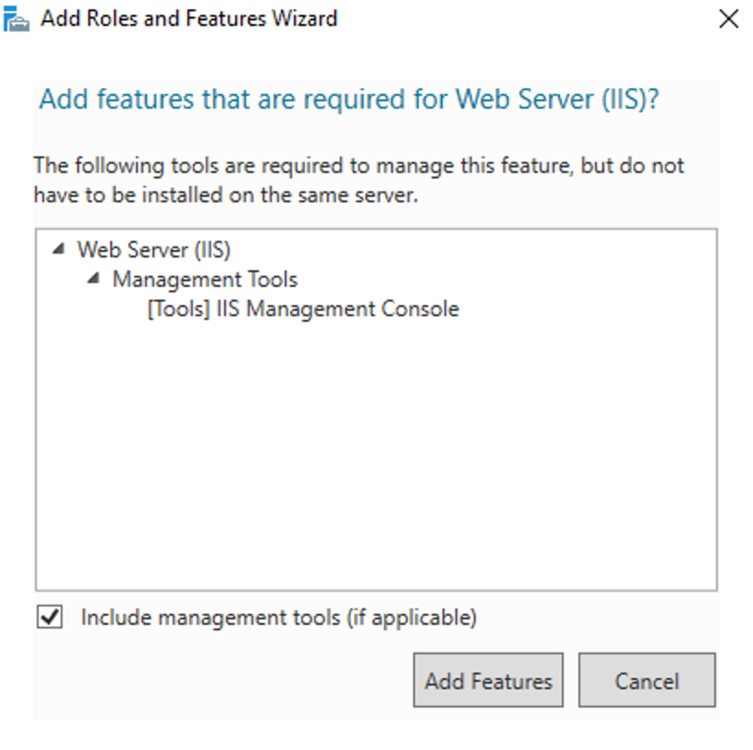
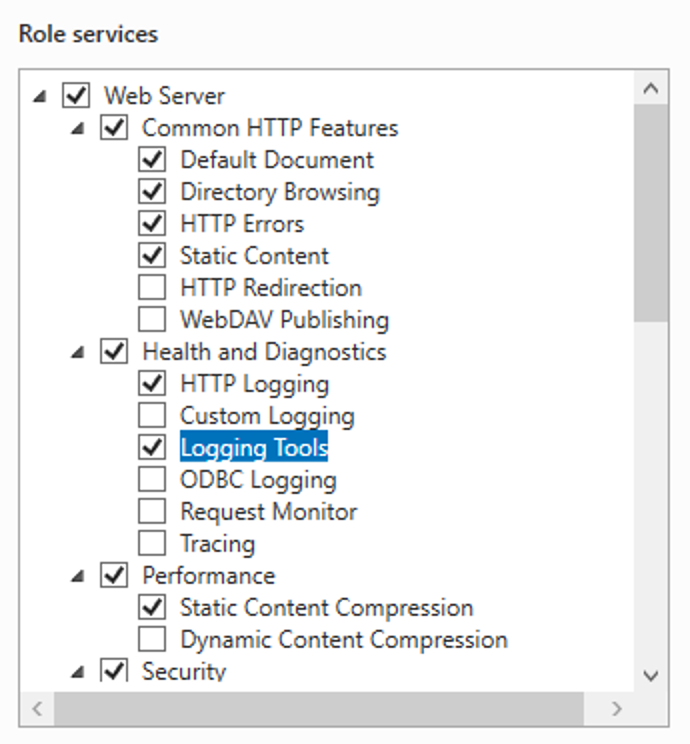
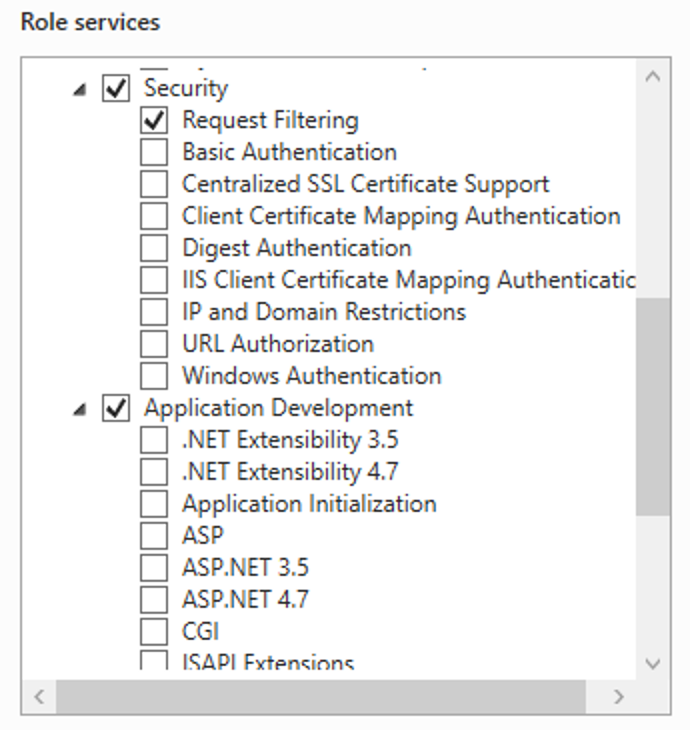
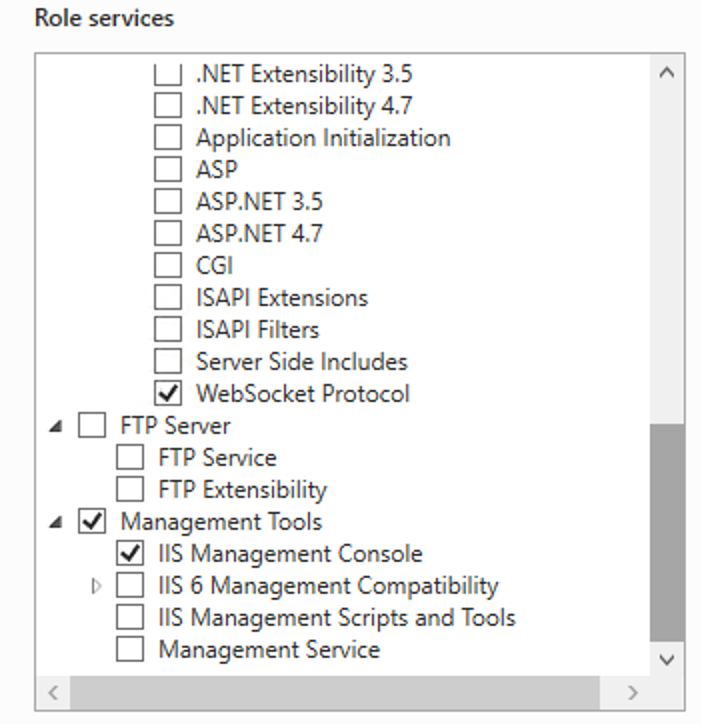
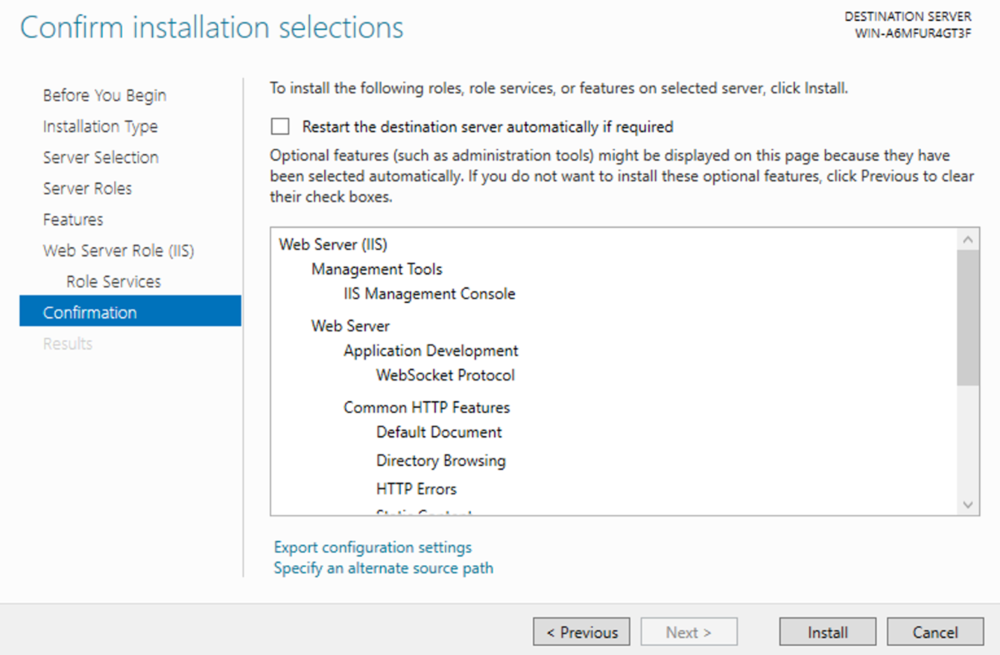
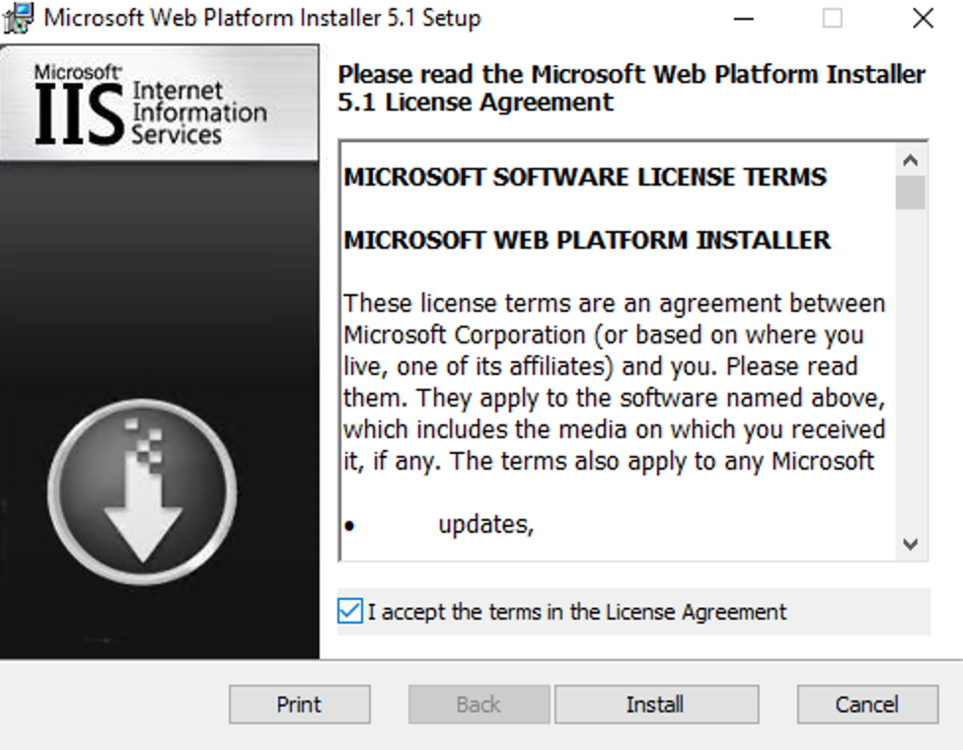
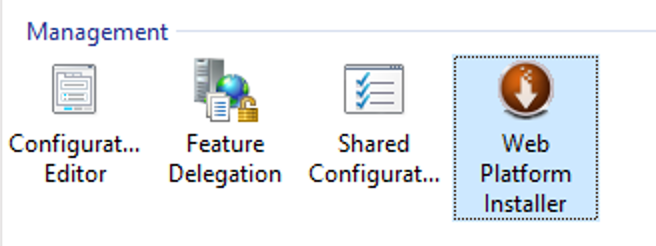
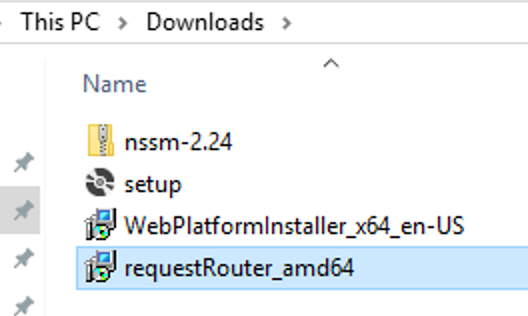
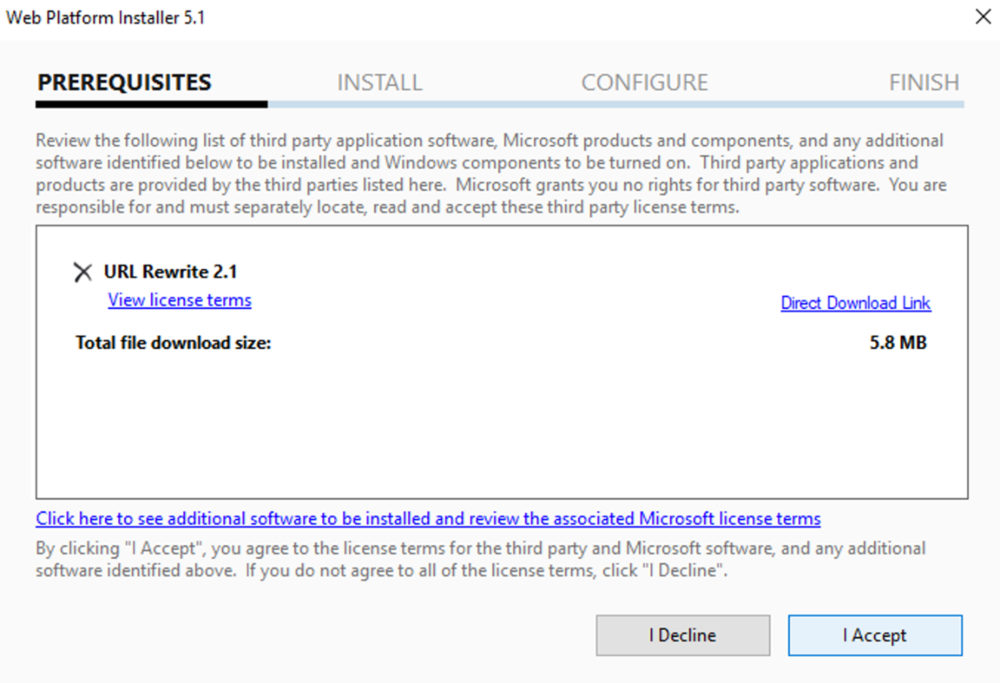
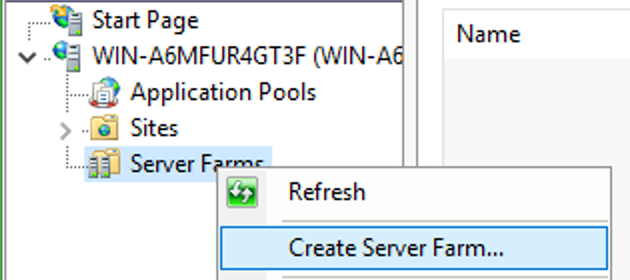
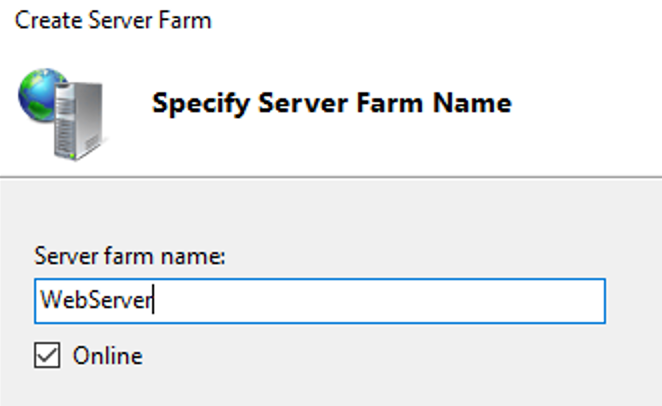
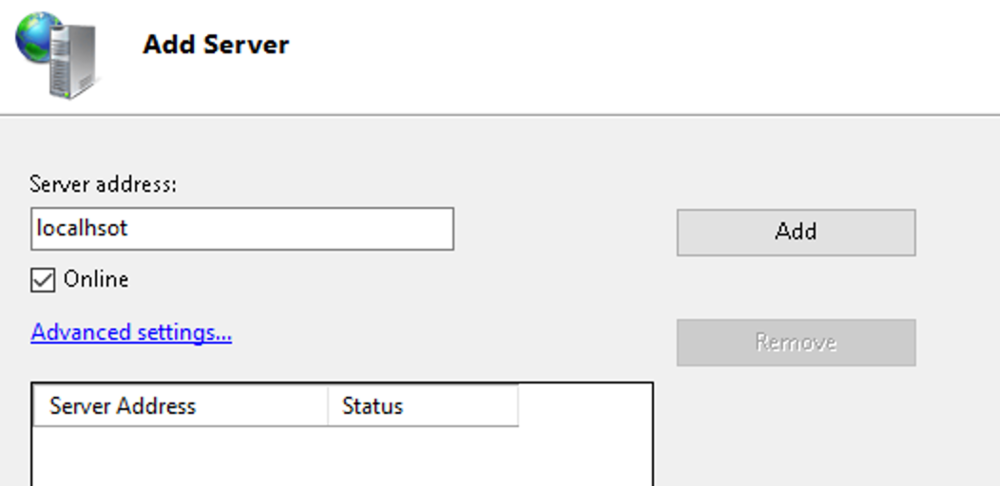
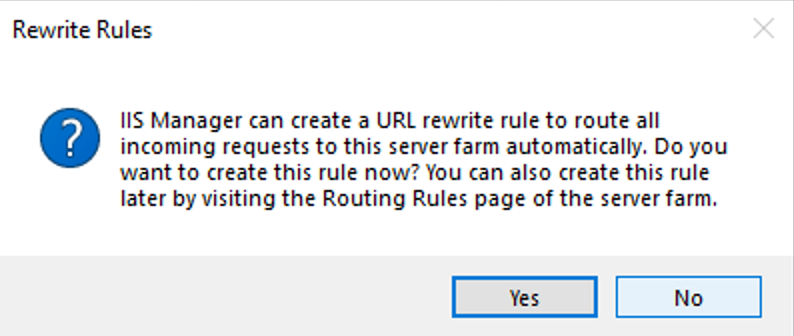
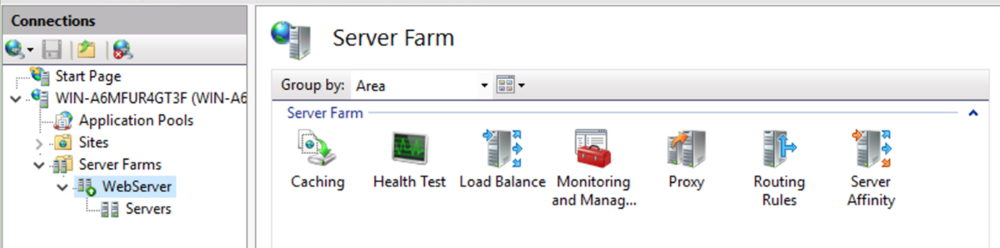
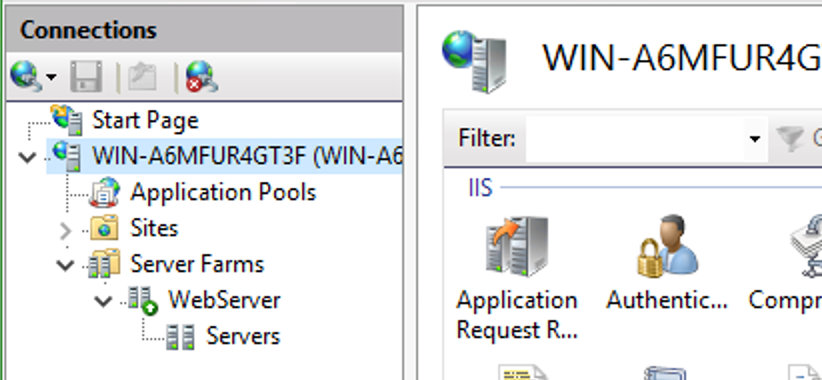
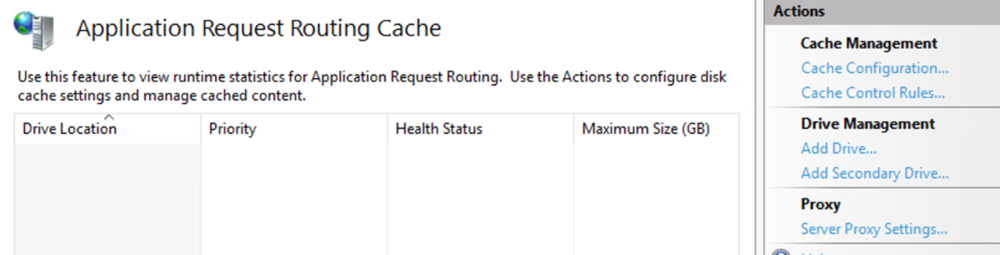
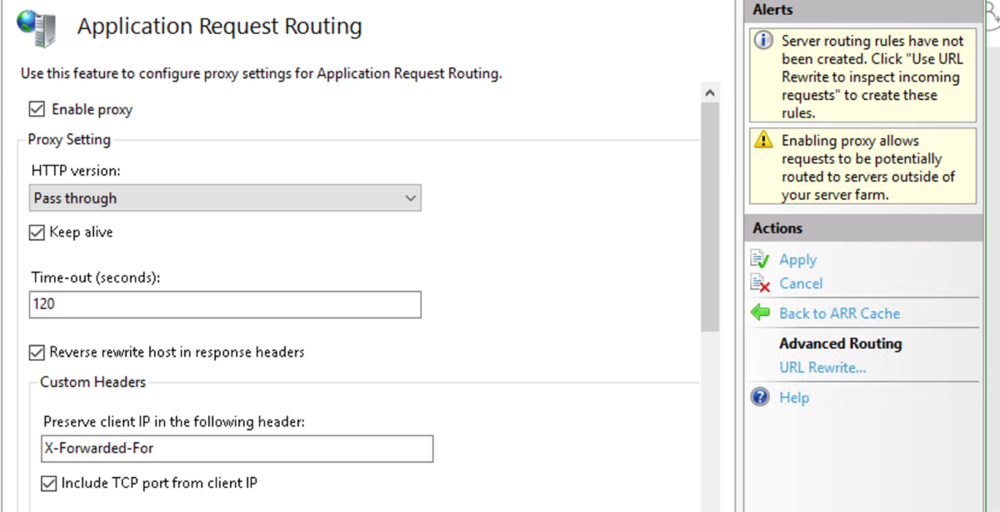
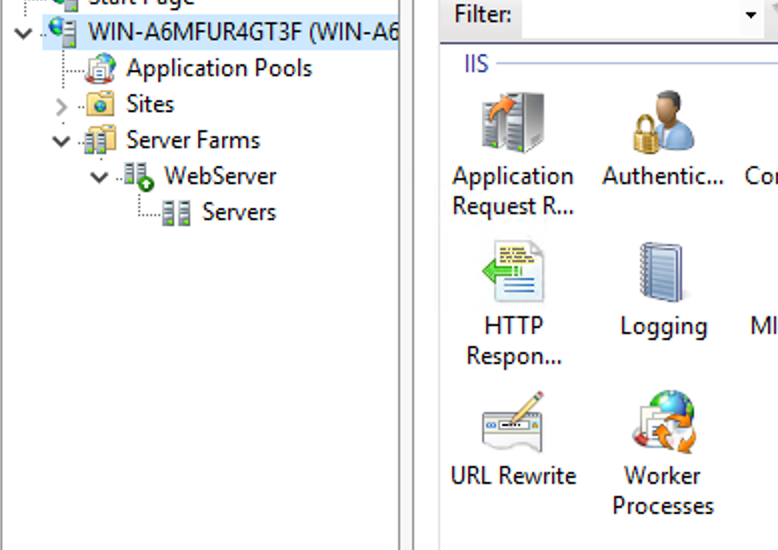
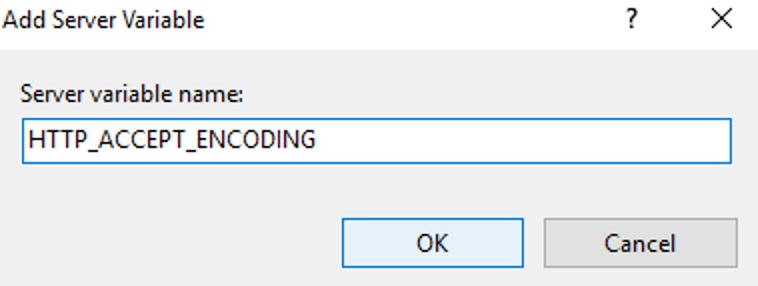
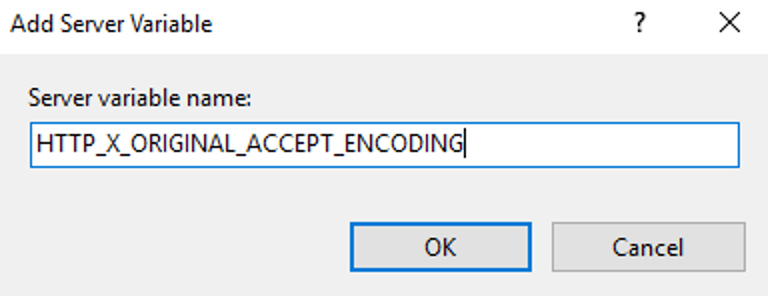
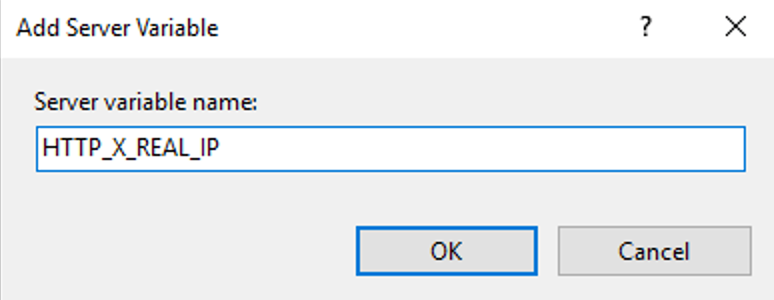
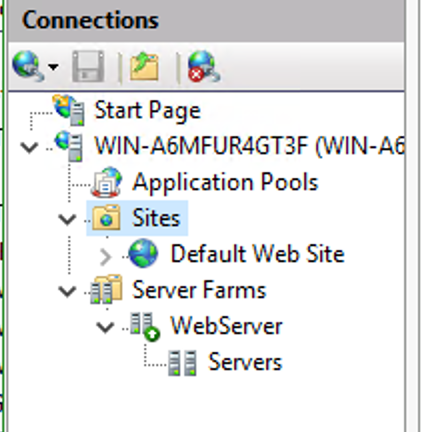
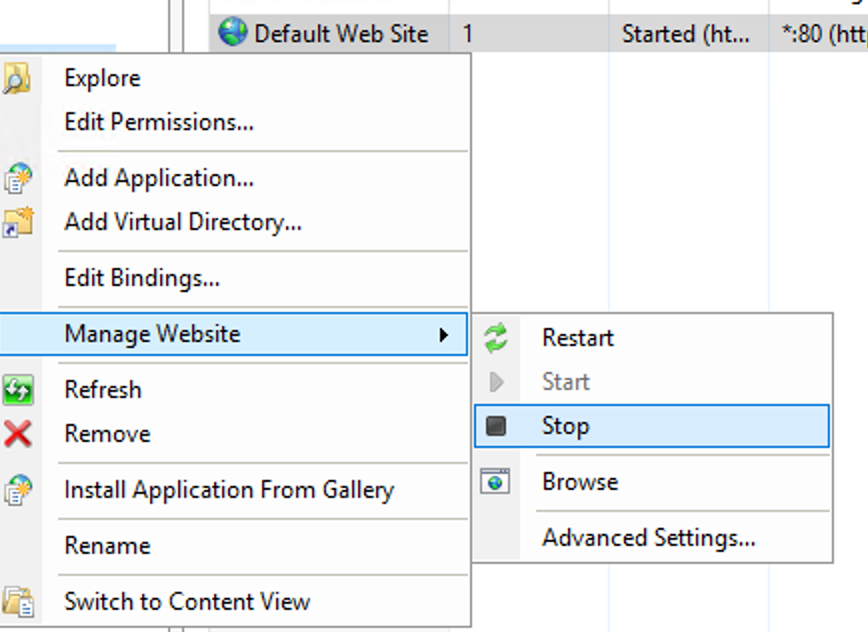
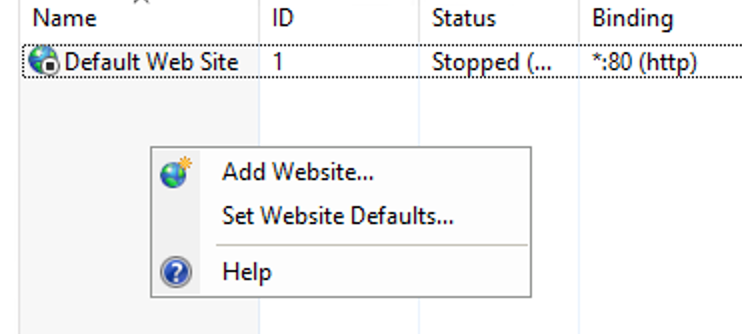
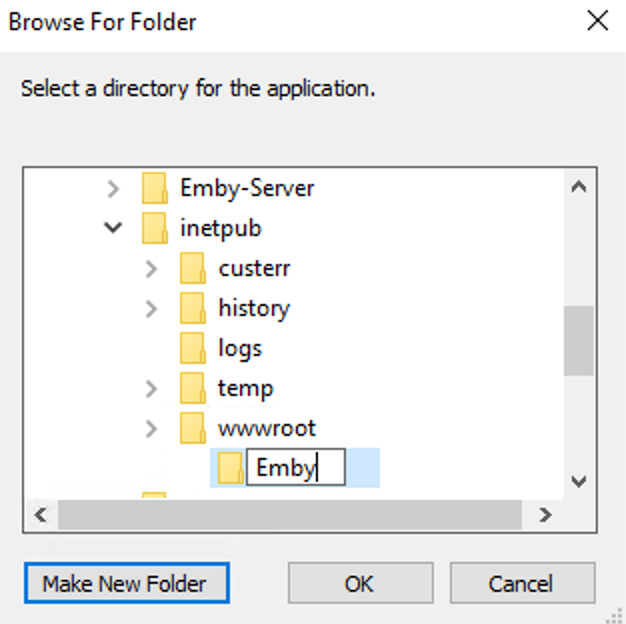
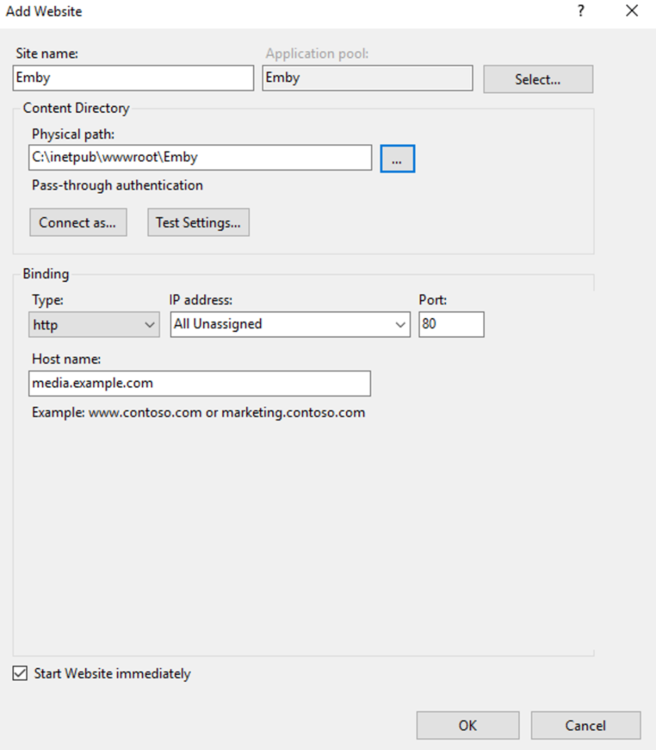
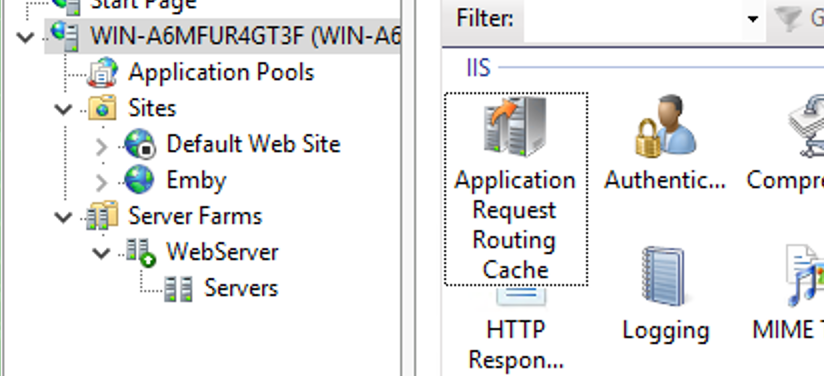
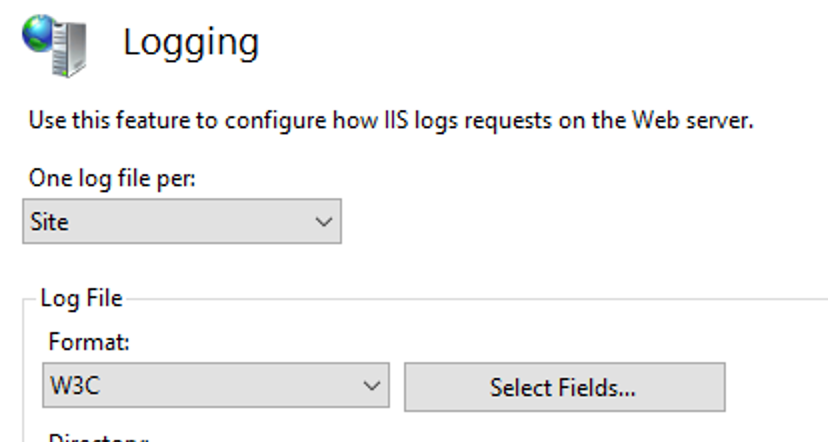
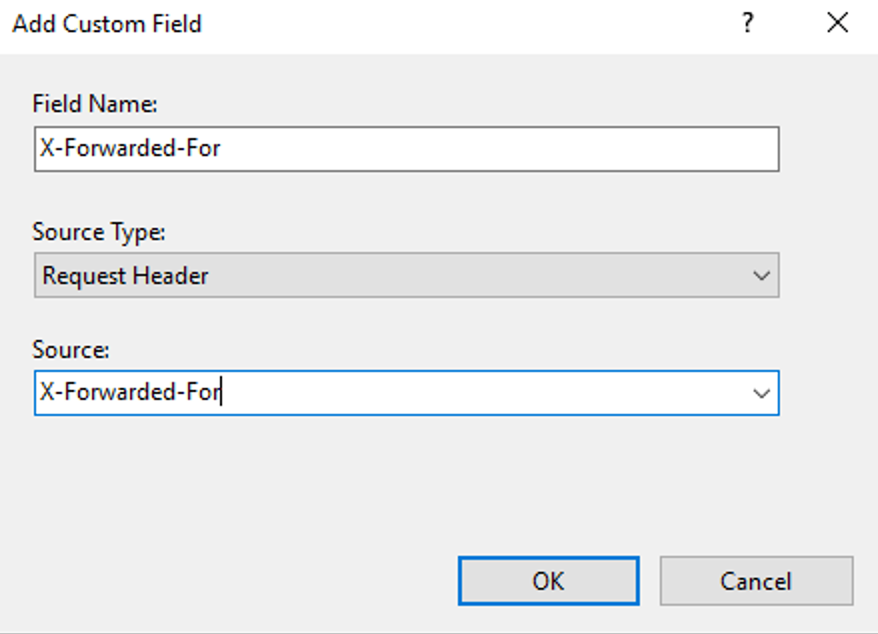
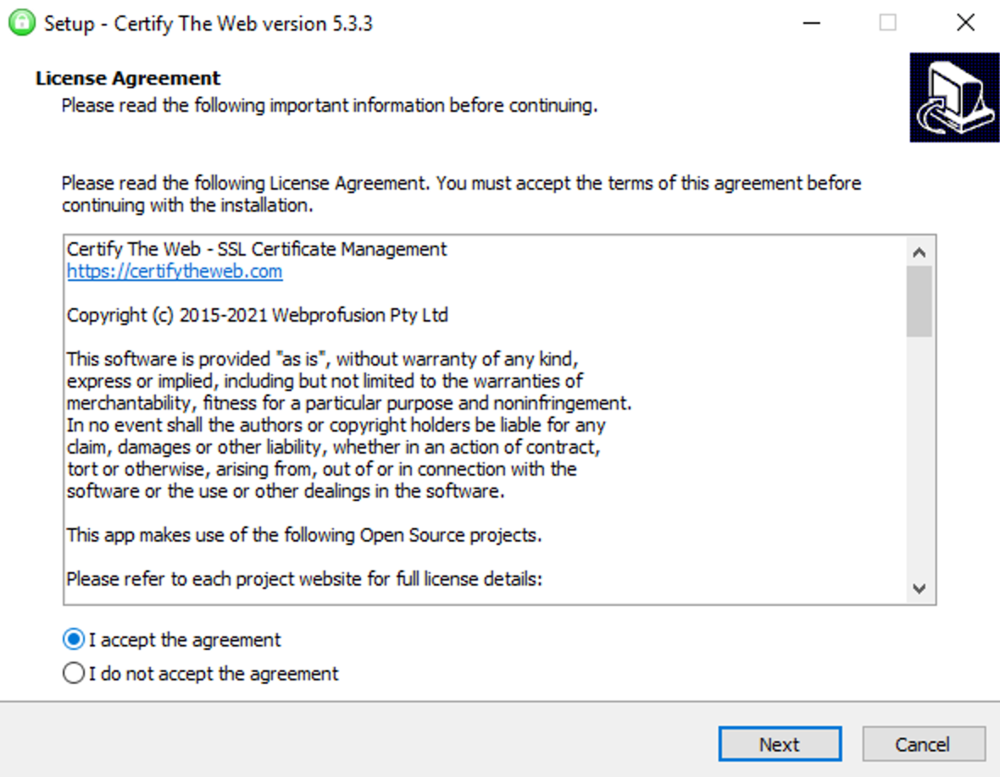
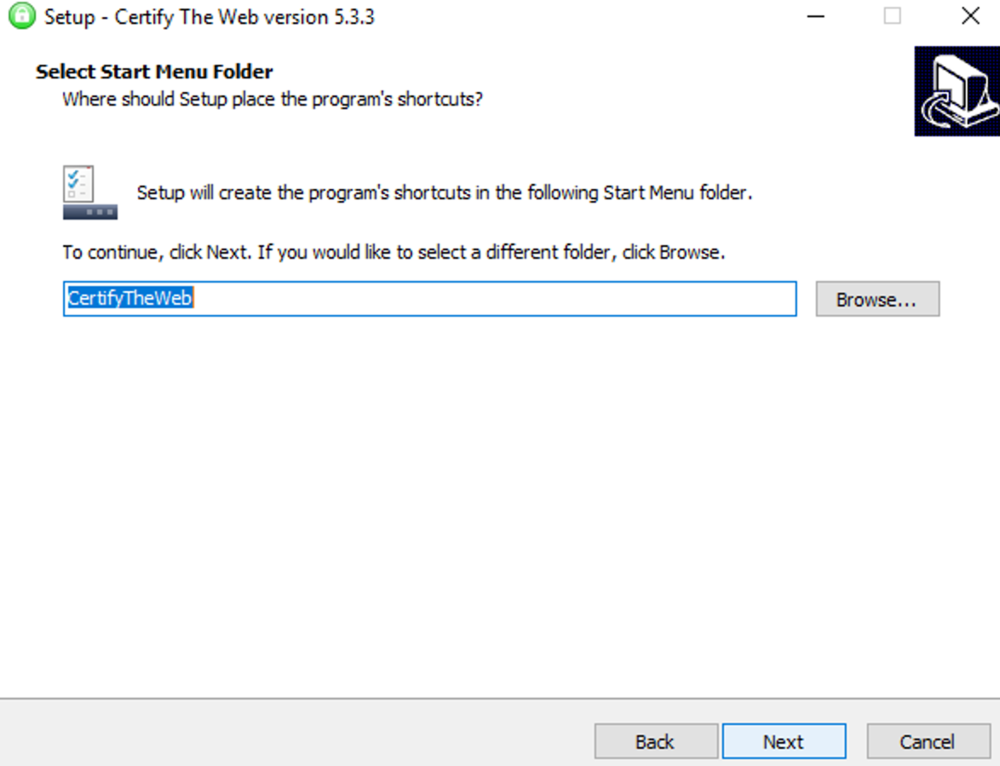
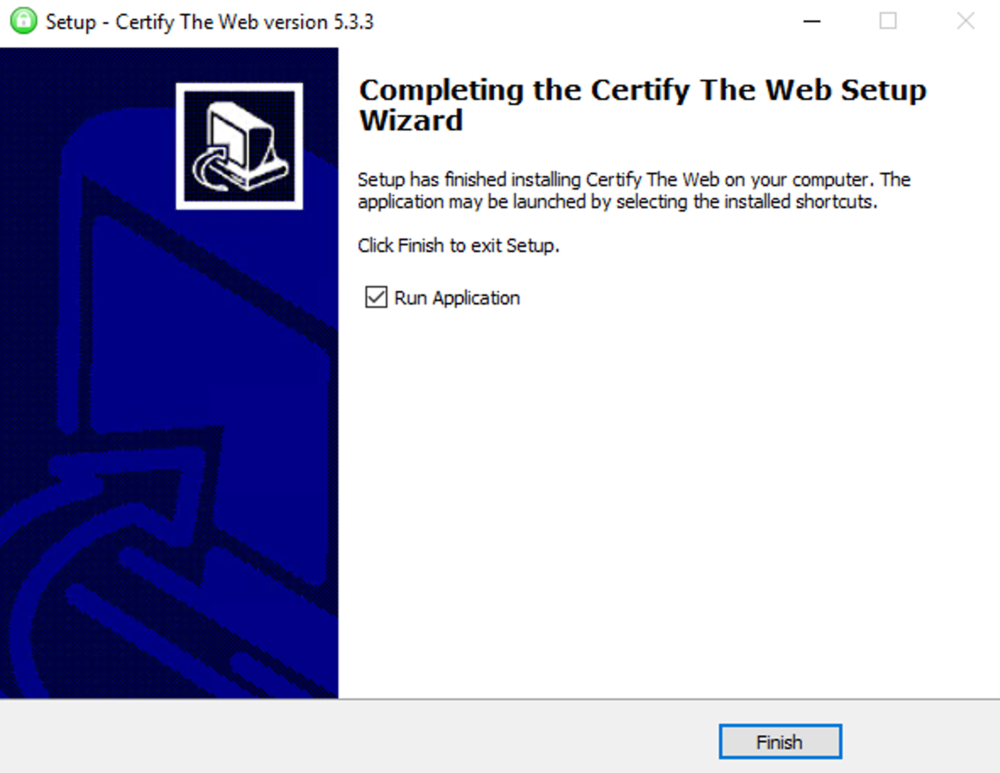
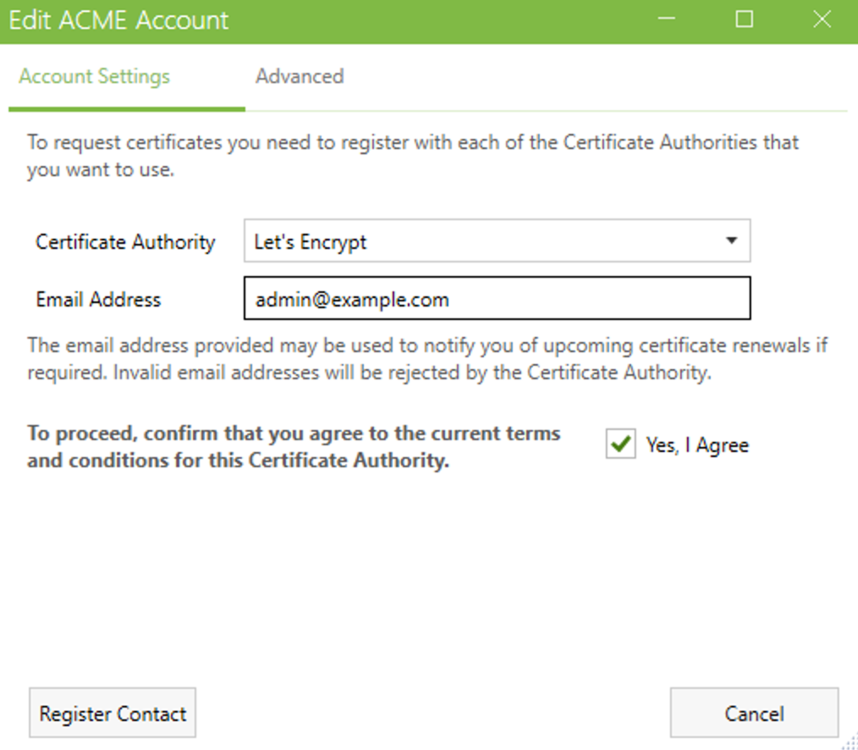
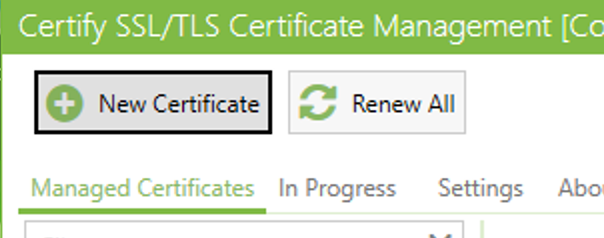
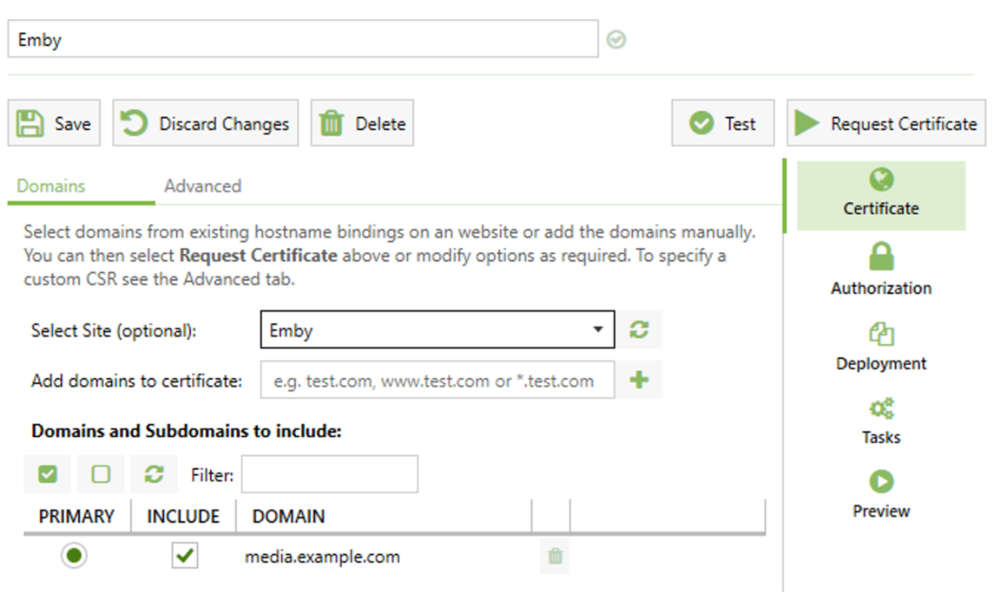
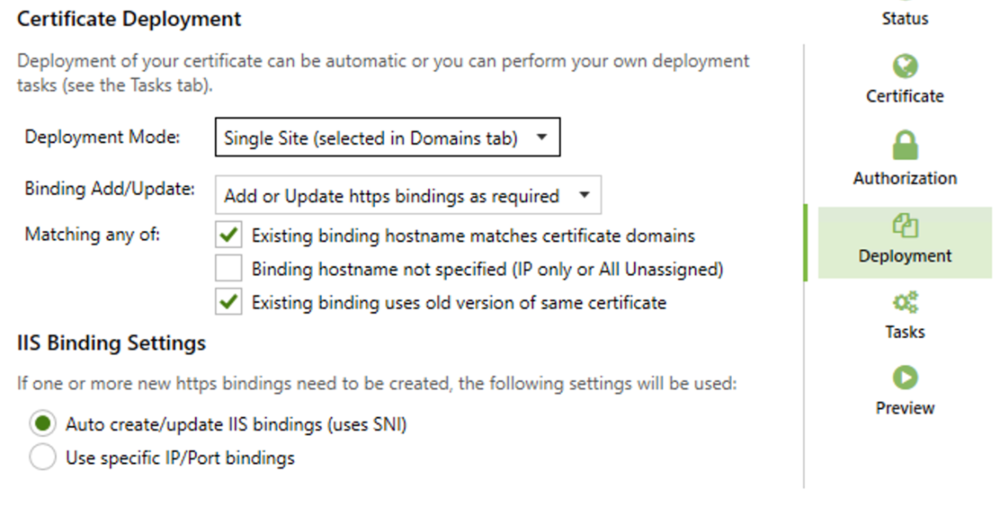
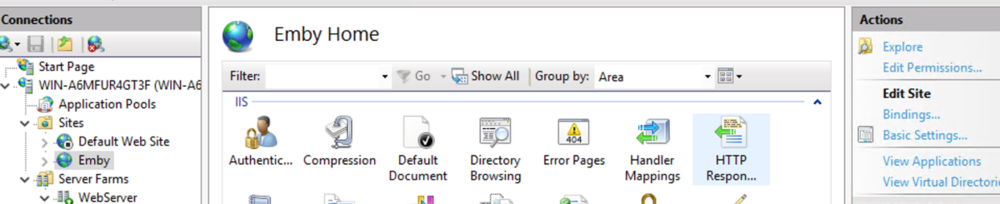
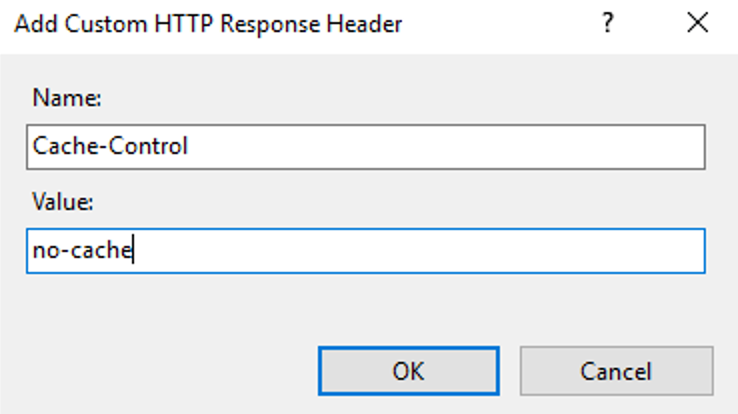
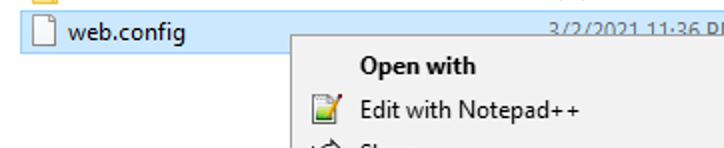
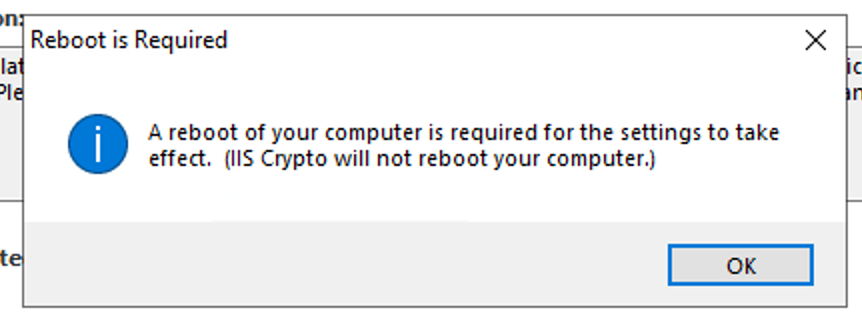
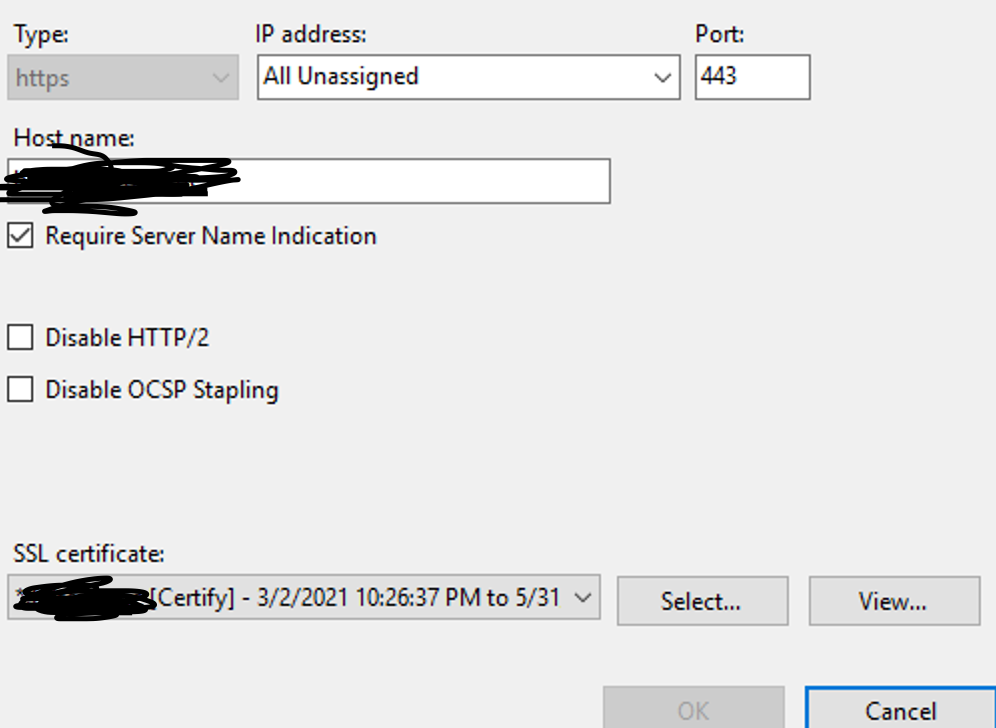
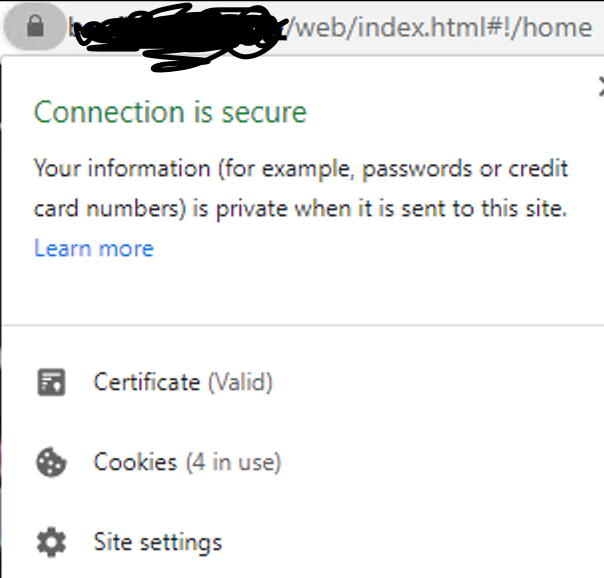
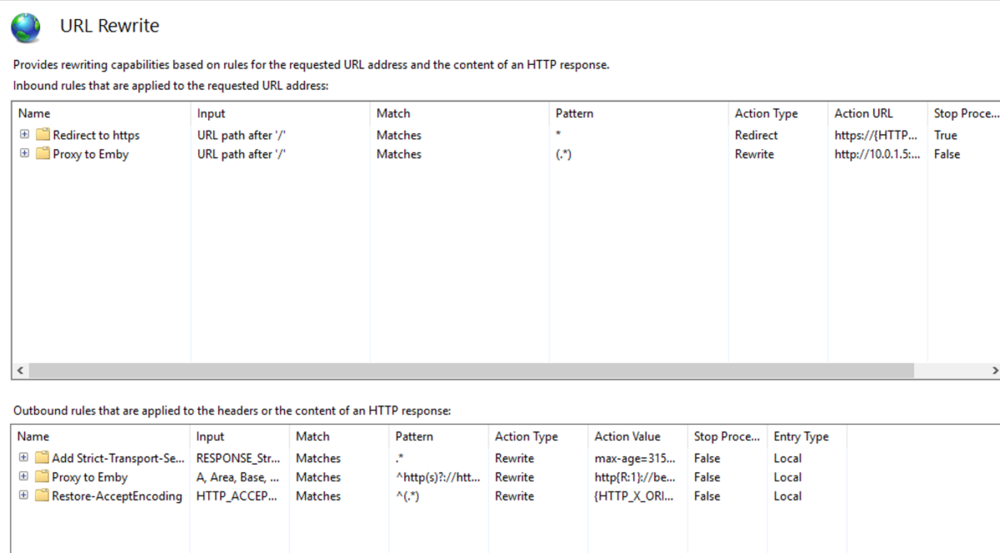
This guide will explain how to setup a Windows Server instance of Emby server with IIS as full transparent reverse proxy with SSL offload and auto-renewing certificates via Lets Encrypt. First, What is IIS? IIS or Internet Information Services is the web server service provided with Windows and Windows server installations. It is industry standard technology and is widely supported and regularly maintained by Microsoft. Second, What is a reverse proxy? A reverse proxy will take requests coming into your server (in this case HTTPS on port 443) and route them to a backend application (in this case Emby Server on port 8096 on the same box or another). Reverse proxies are very useful if you only have 1 public IP and multiple services you would like to run on a single port (443, for example is standard secure web traffic) or multiple servers that need to appear as one. Third, Why do I want a certificate for my site from Lets Encrypt? Well, most sites now days are secure (read they encrypt your traffic to prevent people from seeing your data), browsers these days flag sites that are not using properly signed certificate chains or run on insecure ports. If you use a self signed certificate in Emby, you may have difficulty getting things like the iOS app or Roku app to work properly outside your home. (Not sure about the rest of you, but Emby on the kid’s iPad is a life saver for long car rides). Let’s Encrypt provides free SSL certificates that are signed by certificate authorities that will be recognized on all devices and platforms. I will be using Windows Server 2019 with IIS 10 and AAR 3. All of this should work with Windows Server 2012R2 and Windows Server 2016 as well as Windows 10, however there may be some differences. You can use either stable or beta version of Emby Server, however in this guide we will use the stable version. At the time of writing, this guide will get you a full A+ rating from SSLlabs.com security test. (For comparison purposes, Facebook’s rating is a B.) In this guide we will: Install Emby Server Move Emby Server Installation to a non-user-locked location Setup a service user to run Emby Server as Configure Emby Server to run as a service Configure Windows Firewall Install IIS Install AAR Install IIS Rewrite module Configure AAR Configure IIS as a reverse proxy for Emby Configure SSL cypher suites for the server Install the Certify the Web client. Configure Certify the Web for auto-renewing SSL certificate for your domain Note: To be externally accessible, you will need to configure your route/modem to port forward 80 and 443 to your server. Pre-reqs/Assumptions: A physical server or VM running Windows Server An Internet Connection A DynDNS/No-IP URL (or similar routable dns name pointed at your router’s public IP) You have port forwarded ports 80 and 443 through your router to the machine you will use as a reverse proxy (in this guide we will use the same box for the reverse proxy and Emby server, but these can be run on different hosts). You have installed Notepad++ on the machine you will be setting up. Install Emby Server Download Emby Server Run the Installer Click Run when prompted If prompted by smart screen, click run anyway If prompted to install Visual C++ runtime, click install It will install to default location of %APPDATA%\Emby-Server. Move Emby Server to Non-User Locked Location Ensure that Emby Server is not running (right click icon in system tray if present and click Exit) Navigate to default location of %APPDATA% (%userprofille%\appdata\roaming) Right click the folder and click "cut" Navigate to C:\ (or root of the drive you wish to have Emby run from) Right click in the whitespace and paste. (if prompted to provide administrator permission, approve) Create a Service Account to run Emby as Note: Instructions show how to do this using local users and computers, you can also do this with Active Directory Users and Computers if your server is running that role. Right click on the start button (Windows flag) on the left side of the task bar Click Computer Management Expand Local Users and Groups on the left side Click Users Right click the whitespace and click new user Complete the new user dialog as shown (make sure you save whatever password you use as you will need it later, ProTip: don't re-use passwords) Click create Click close Close the computer management window Setup NSSM NSSM (Non-Sucking Service Manager) is needed to run Emby Server as a service as Emby Server does not include the nessicary components to run as a Windows service by default. Download here: https://nssm.cc/download Double click downloaded zip to open it in windows explorer Navigate to /win64 folder inside zip Copy/extract 64 bit version of the file to C:\Emby-Server Setup Folder Permissions Navigate to C:\ Right click the Emby-Server folder Click Properties Click Security tab Click Advanced Click Disable Inheritance Click Convert to Explicit Select CREATOR OWNER Click Remove Select Users (special) Click Remove Click Add Enter SvcEmby in the dialog Click OK Click Full Control Click OK Click Change next to owner at the top of the box Type SvcEmby in the dialog Click OK Check the Replace owner check box Check the Replace permissions checkbox Verify the dialog window looks similar to this (computer name will be different) Click OK When prompted if you want to replace permissions click Yes Verify security tab looks like this Click OK Setup Emby as a Service using NSSM Right click the start button on the left side of the task bar Click Windows Powershell (Admin) Type: "cd C:\Emby-Server" and press enter Type ".\nssm.exe install Emby" and press enter The install service dialog will launch, fill out as follows: Application Tab Details Tab Logon Tab (note, if you are using active directory it should be: YOURDOMAIN\SvcEmby) Exit Actions Tab Click Install Service Click OK Config ure Windows Firewall Click Start Click Control Panel Click Windows Defender Firewall Click Advanced Settings on the left hand side Click Inbound Rules Click New Rule on the right hand side Click Port Click Next Type 80, 443 in the ports box Click Next Click Next Click Next Name it Web Server Ports Click Finish Install IIS (Internet Information Services) Click Start Click Server Manager Click Add Roles and Features Click next on the Before you Begin page Click Role Based install Click Next Verify you are installing on your local server Click Next Check the box for "Web Server (IIS)" When prompted to install management tools Click Add Features Click Next Under Features, click Next Click Next again to get to role services Check the boxes for all of the following role services Make sure you check the box for web sockets under Application Development, this is needed for various features of Emby to work right. Click Next Click Install Once installation completes, click close Install Web Platform Installer add-on Download from: https://www.microsoft.com/web/downloads/platform.aspx Run the Web Platform Installer add-on installer Click Install Click Finish Install AAR (Advanced Application Routing) Download from: https://www.microsoft.com/en-us/download/details.aspx?id=47333 Run the Request Router installer Click Install Install IIS Re-Write Module Click Start Click Administrative Tools Open Internet Information Services (IIS) Manager Click the name of your server on the left Double Click on the Web Platform Installer In the search box type "url rewrite" Click Add Click Install Click I Agree Click Finish Configure AAR Click Start Click Administrative Tools Open Internet Information Services (IIS) Manager Click the name of your server on the left Right Click Server Farms Click Create Server Farm Name your Server Farm Click Next Enter the IP address of the server or "localhost" Click Add Click Finish Click No in the dialog that pops up Expand your newly created Server Farm Click Proxy Configure settings as shown Click Apply Click your Server Click Application Request Routing Click Server Proxy Settings Configure settings as shown Click Apply Click Your Server Configure IIS Server Variables Click Url Re-Write Click View Server Variables Click Add Type "HTTP_ACCEPT_ENCODING" Click OK Click Add Type "HTTP_X_ORIGINAL_ACCEPT_ENCODING" Click OK Click Add Type "HTTP_X_FORWARDED_FOR" Click OK Click Add Type "HTTP_X_REAL_IP" Click OK Click Your Server Create Emby Site Expand Sites on the left hand side Right Click "Default Web Site" Highlight "Manage Website" Click Stop Right Click the white space in the Sites list Click Add Website Click the "..." button to the right of Physical Path Browse to C:\inetpub\wwwroot Click it Click Make New Folder Call it Emby Click OK Under Binding Fill in with your public host name (see dynamic dns mentioned in pre-reqs) Click OK Configure Logging Click your server Click Logging Click Select Fields Click Add Field Configure as shown Click OK Click OK Click Apply Install and Configure Certify The Web client Download From: https://certifytheweb.com Run the Certify the Web installer Click Next Click Next Click Next Click Install Click Finish Click New Certificate Click on on Contact Prompt Fill in your contact email Click Register Contact Click New Certificate again Select Emby from the sites list Name and domain will populate automatically. Click Deployment Configure as shown Complete certificate verification process Click your site in IIS manager Click Bindings Verify there is an HTTPS binding and that it looks similar to this (with your domain information) Edit Web.Config for Emby Site Click HTTP Response Headers Click Add Configure as show (we are just creating a header to get the web.config to exist, we will paste in a premed one below, so these values dont really matter) Click OK Open an Explorer window and Browse to C:\inetpub\wwwroot\Emby Right click web.config and Edit with Notepad++ Replace existing content with web.config below <?xml version="1.0" encoding="UTF-8"?> <configuration> <system.webServer> <rewrite> <rules> <clear></clear> <rule name="Redirect to https" enabled="true" patternSyntax="Wildcard" stopProcessing="true"> <match url="*" negate="false" /> <conditions logicalGrouping="MatchAny"> <add input="{HTTPS}" pattern="off" /> </conditions> <action type="Redirect" url="https://{HTTP_HOST}{REQUEST_URI}" redirectType="Found" /> </rule> <rule name="Proxy to Emby" stopProcessing="false"> <match url="(.*)" /> <serverVariables> <set name="HTTP_X_ORIGINAL_ACCEPT_ENCODING" value="{HTTP_ACCEPT_ENCODING}" /> <set name="HTTP_ACCEPT_ENCODING" value="" /> <set name="HTTP_X_REAL_IP" value="{REMOTE_ADDR}" /> </serverVariables> <action type="Rewrite" url="http://localhost:8096/{R:1}" logRewrittenUrl="true" /> <conditions> <add input="/{R:1}" pattern=".well-known" negate="true" /> </conditions> </rule> </rules> <outboundRules> <rule name="Add Strict-Transport-Security when HTTPS" enabled="true"> <match serverVariable="RESPONSE_Strict_Transport_Security" pattern=".*" /> <conditions> <add input="{HTTPS}" pattern="on" /> </conditions> <action type="Rewrite" value="max-age=31536000; includeSubDomains; preload" /> </rule> <rule name="Proxy to Emby" preCondition="ResponseIsHtml1" enabled="true"> <match filterByTags="A, Area, Base, Form, Frame, Head, IFrame, Img, Input, Link, Script" pattern="^http(s)?://http://localhost:8096/(.*)" /> <action type="Rewrite" value="http{R:1}://media.example.com/{R:2}" /> </rule> <rule name="Restore-AcceptEncoding" preCondition="NeedsRestoringAcceptEncoding"> <match serverVariable="HTTP_ACCEPT_ENCODING" pattern="^(.*)" /> <action type="Rewrite" value="{HTTP_X_ORIGINAL_ACCEPT_ENCODING}" /> </rule> <preConditions> <preCondition name="ResponseIsHtml1"> <add input="{RESPONSE_CONTENT_TYPE}" pattern="^text/(.+)" /> </preCondition> <preCondition name="NeedsRestoringAcceptEncoding"> <add input="{HTTP_X_ORIGINAL_ACCEPT_ENCODING}" pattern=".+" /> </preCondition> </preConditions> </outboundRules> </rewrite> <caching enabled="false" enableKernelCache="false" /> <httpProtocol> <customHeaders> <add name="X-Frame-Options" value="SAMEORIGIN" /> <add name="X-Xss-Protection" value="1; mode=block" /> <add name="X-Content-Type-Options" value="nosniff" /> <add name="Referrer-Policy" value="same-origin" /> <add name="Feature-Policy" value="sync-xhr 'self'" /> <add name="Cache-Control" value="no-cache" /> </customHeaders> </httpProtocol> </system.webServer> </configuration> Save changes (if prompted to restart Notepad++ in admin mode allow it and then try saving again) IIS will now be properly configured as a reverse proxy for Emby. Under IIS Manager > Rewrite you should now see the following rules: Configure Server Cyphers Download here: https://www.nartac.com/Products/IISCrypto/Download (GUI version) Run the IISCrypto too Click Templates In the template drop down box, select PCI 3.2 This will disable IIS from being able to serve via SSL 2.0, 3.0; TLS 1.0 and TLS 1.1. This will leave just the industry standard TLS 1.2. Click Apply Click OK. Reboot your server. Emby Internal Settings Navigate to your server via the localhost:8096 address Click the gear in the top right corner Click Network from the list of tabs on the right Configure as shown (use your hostname in the external domain box) Conclusion Upon rebooting your computer will start IIS services and Emby server as a service. Traffic coming in on port 80 (if someone just types your url without HTTPS in their browser's address bar) will be automatically redirected to port 443 and the HTTPS:// version of your host name. Your certificate will auto-renew every so often and re-bind to the site in IIS without any interaction on your part. This allows for a server that you can for the most part setup, and forget about and just manage your Emby installation via its web ui. There are a lot of ways to set up Emby server depending on your environment and other factors. For my environment this made the most sense and since large portions of this took quite a bit of digging and research to get working just right, I figured Id make someone else's life a little easier if they were trying to do something similar. These instructions can be adapted for Windows Server 2012 R2, Windows Server 2016, Windows 8 and Windows 10. In the end browsing to your domain should look like this in the browser Additional Information for Updating When Updating your Emby installation. Simply stop the service for Emby, install like you normally would, then just cut the system folder inside the %appdata%\emby-server folder and paste it into the C:\Emby-Server folder. When prompted replace all files, then start the service again once the copy completes. Additional Information about Connecting with Emby Apps When connecting to your Emby installation remotely with Emby apps remember to prefix your domain name with https:// and use 443 for the port number. <Edit> Additional Information about changing Emby Server Title: For those users who wish to change their page title in browser (as discussed here), here is additional Web.Config information that will let you do just that! Using IIS Re-Write rules to change the page title means, you don't have to edit files to reset it every time you upgrade your Emby Server! Add these 3 rules at the bottom of the rules list, replace whole <preConditions> block too.: NOTE: Make sure you replace ALL 4 instances of NAME_OF_YOUR_SERVER with what you want your server to display in the tab bar. <rule name="RewriteTitle" preCondition="ResponseIsHtml1" enabled="true"> <match filterByTags="None" pattern="<title>(.*)</title>" /> <action type="Rewrite" value="<title>NAME_OF_YOUR_SERVER</title>" /> </rule> <rule name="RewriteAppHeaderJs" preCondition="ResponseIsJS" enabled="true"> <match filterByTags="None" pattern="document.title="Emby"" /> <action type="Rewrite" value="document.title="NAME_OF_YOUR_SERVER"" /> </rule> <rule name="RewriteAppHeaderJs2" preCondition="ResponseIsJS" enabled="true"> <match filterByTags="None" pattern="title.Name||"Emby":"Emby"" /> <action type="Rewrite" value="title.Name||"NAME_OF_YOUR_SERVER":"NAME_OF_YOUR_SERVER"" /> </rule> <preConditions> <preCondition name="ResponseIsHtml1"> <add input="{RESPONSE_CONTENT_TYPE}" pattern="^text/(.+)" /> </preCondition> <preCondition name="ResponseIsJS"> <add input="{RESPONSE_CONTENT_TYPE}" pattern="application/javascript|text/javascript" /> </preCondition> <preCondition name="NeedsRestoringAcceptEncoding"> <add input="{HTTP_X_ORIGINAL_ACCEPT_ENCODING}" pattern=".+" /> </preCondition> </preConditions> </Edit>


 1 point
 -
I wanted to continue on some of the ideas we had way back on the Audio fingerprinting segment detection which could be used for things like Intro detection, commercial detection or even areas of interest detection in audio and thus in video streams that have audio. Chromaprint project : https://github.com/acoustid/chromaprint The idea is to use a tool like ffmpeg to extract what is called a chromaprint of the audio, this is a stream of data that represents the fingerprint of the audio over time. You can then compare this simpler representation against other chromaprints to find similar sounding audio segments. We started some of this work over a year ago on this thread: https://emby.media/community/index.php?/topic/48304-show-intro-skip-option/&do=findComment&comment=952613 And found some interesting ways to use the data. The first being the ability to detect segments of the video using multiple episodes of a tv show the intro theme music that could then be marked to allow auto skipping. I found this work interesting as it is kind of what I do, look for patterns in very very large data sets on a daily basis. So I went back and had a look at my original python that compared some of the bitstreams and found it was very slow, fine for a POC in small scale but very slow. The main cost of doing this is in the bitstream comparisons needed to find aligning (similar) audio segments in two potentially large chromaprint bitstreams. The approach I were using to find the bit difference counts was brute force and inefficient. I went on the hunt for a more efficient hamming difference and fond a bunch of bit diff work that pointed to a bit shift approach that is very much faster. So why all the fuss about this one aspect, well it is super important if you want a performant solution as a LOT of the heavy lifting in finding audio overlaps is comparing a lot of data and if you can do that as fast as possible then it will allows you more options, more exhausting searching etc I have implemented a simple hamming diff test using my original brute force apporach and the new bit shift approach and it does make a big difference, about 86% or 6.8 time faster. This bit shifting approach comes from stackoverflow, from a post about fast bit Hamming calcs in Matlab (a data science tool) https://stackoverflow.com/questions/1024904/calculating-hamming-weight-efficiently-in-matlab I just adapted it to python for my test but it could be any language that can do bit shifting. here is the python code: import time # simple brute force def count_bit_diff(left, right): count = 0 for i in range(0, 32): if ((left >> i) & 1) != ((right >> i) & 1): count = count + 1 return count # https://stackoverflow.com/questions/1024904/calculating-hamming-weight-efficiently-in-matlab # http://graphics.stanford.edu/~seander/bithacks.html#CountBitsSetNaive def hamming_diff(left, right): # w = bitand(bitshift(w, -1), uint32(1431655765)) + bitand(w, uint32(1431655765)); # w = bitand(bitshift(w, -2), uint32(858993459)) + bitand(w, uint32(858993459)); # w = bitand(bitshift(w, -4), uint32(252645135)) + bitand(w, uint32(252645135)); # w = bitand(bitshift(w, -8), uint32(16711935)) + bitand(w, uint32(16711935)); # w = bitand(bitshift(w, -16), uint32(65535)) + bitand(w, uint32(65535)); distance = left ^ right distance = ((distance >> 1) & 1431655765) + (distance & 1431655765) distance = ((distance >> 2) & 858993459) + (distance & 858993459) distance = ((distance >> 4) & 252645135) + (distance & 252645135) distance = ((distance >> 8) & 16711935) + (distance & 16711935) distance = ((distance >> 16) & 65535) + (distance & 65535) return distance # confirm approaches are the same through the 32 bit address range points = 20 skip = int(0xFFFFFFFF / points) loops = 0 while loops <= points: right_val = int(loops * skip) diff01 = count_bit_diff(0, right_val) diff02 = hamming_diff(0, right_val) loops += 1 print("%s %s" % (diff01, diff02)) # do some timing comparisons # brute force started = time.perf_counter() for x in range(0, 2000000): diff01 = count_bit_diff(0, x) finished = time.perf_counter() print(f"time01 {finished - started:0.4f} seconds") # faster way started = time.perf_counter() for x in range(0, 2000000): diff01 = hamming_diff(0, x) finished = time.perf_counter() print(f"time02 {finished - started:0.4f} seconds") Output time01 19.2995 seconds time02 2.8164 seconds That is some nice improvements. Now that 4.7 is getting close and this version has the new ffmpeg with the chromaprint module compiled in I might get back on this to have a play with what else this sort of thing can be used for. I know the core Emby will soon have intro detection and skipping built in so that might not be as pressing but I am sure there are other areas of investigation. I am not going to write a plugin, this post is just for reference to continue on some of my thoughts on this. I will probably just add to this thread as I play with this. Repo with a few of the projects and tools i have built. https://github.com/faush01/ThemeService1 point
-
Unfortunately not. This plugin only passes the messages coming from the Emby Messaging Framework.1 point
-
You were exactly correct on the http missing. I foolishly assumed that the api client would add this to the calls. Doh!! thanks again chief, such a simple think to overlook!!1 point
-
HI, we're looking into this, thanks,.1 point
-
Thanks, but that was expected as with long-press you're forcing Home Screen refresh. What I wanted you to perform was marking any item as played on Home Screen afterwards and see whether the screen will auto-refresh:1 point
-
Hello, Yes, there is a difference. 1) Enter a program, mark as played, short press back button to return to Home - Home screen does not show the change. 2) Enter a program, mark as played, long press back button to return to Home - Home screen shows the updated status correctly.1 point
-
Hi, part of the setup/change is setting new permissions for internal emby user. Make sure to set permission read/write permissions for the location you have the backup configured and you should be gold. You can always test this manually by kicking off the backup job from Scheduled Tasks menu. If it fails take a look at the end of the log and you'll likely see it's a permission issue as already mentioned. You shouldn't have a problem.1 point
-
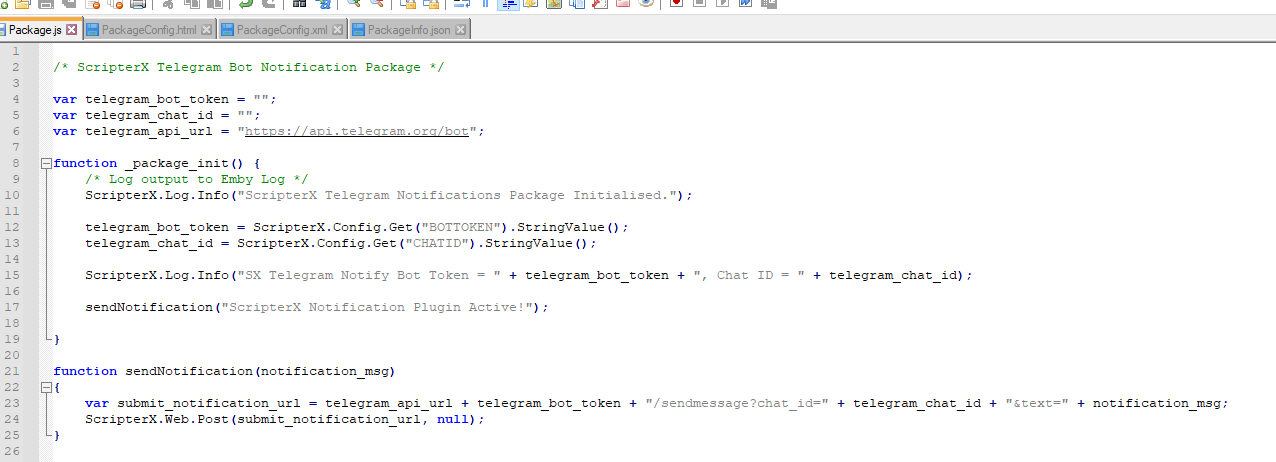
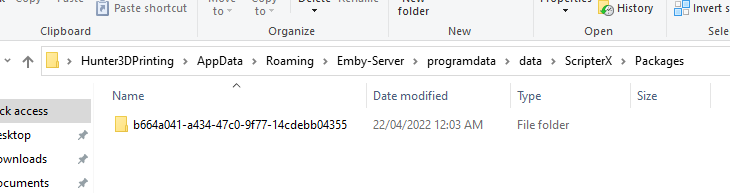
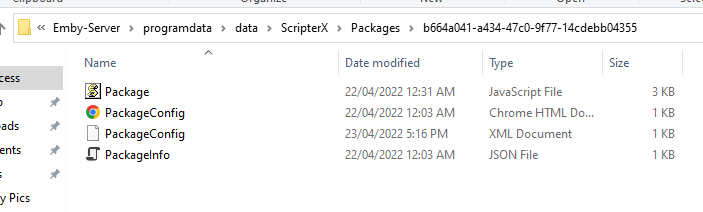
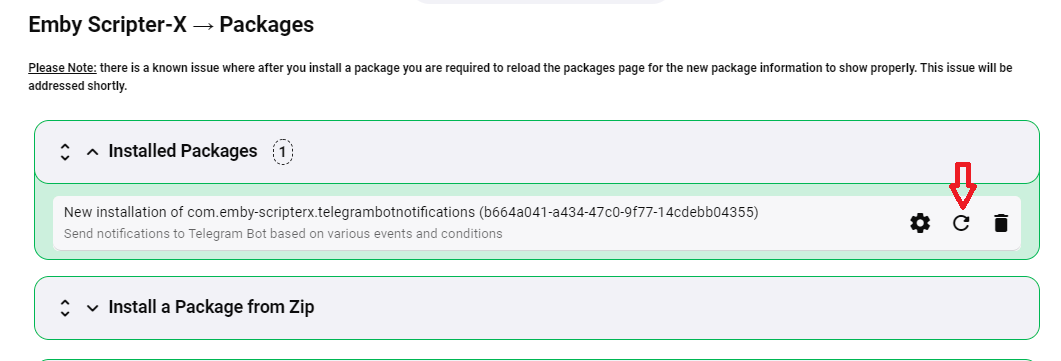
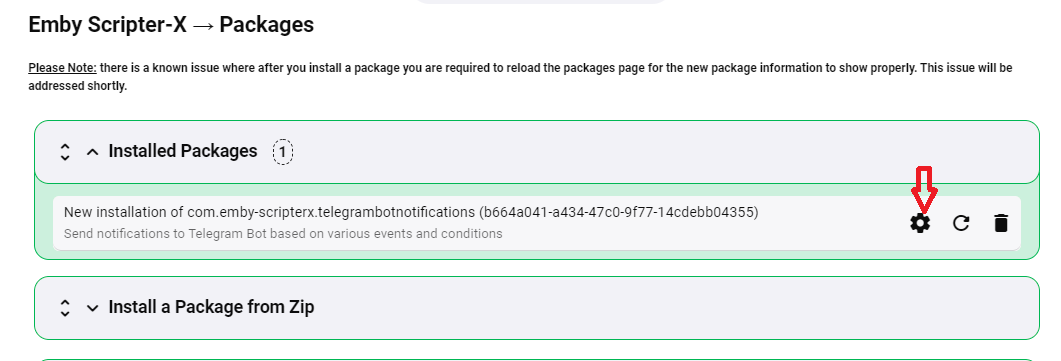
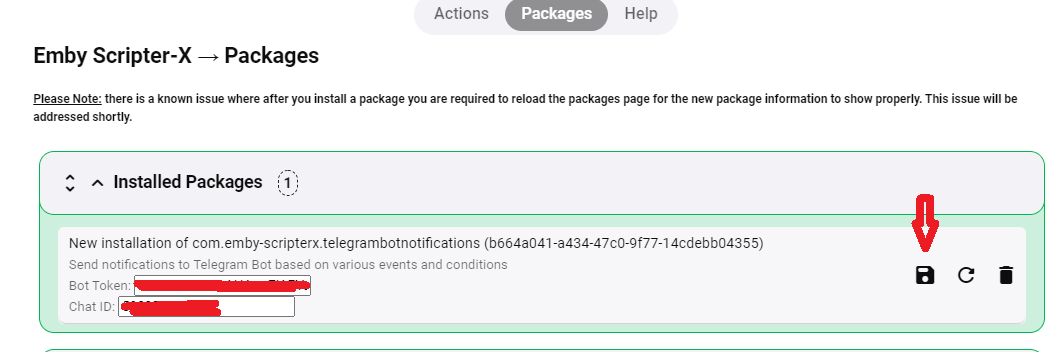
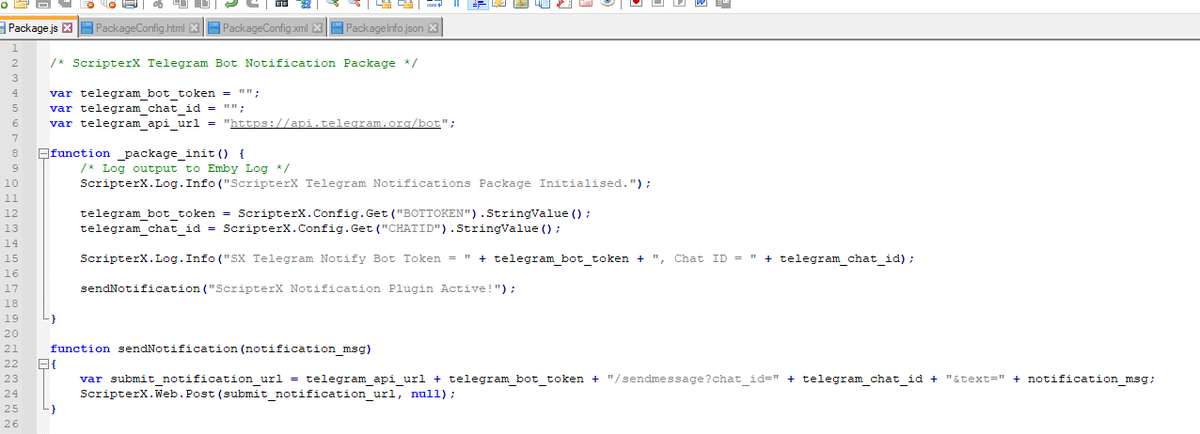
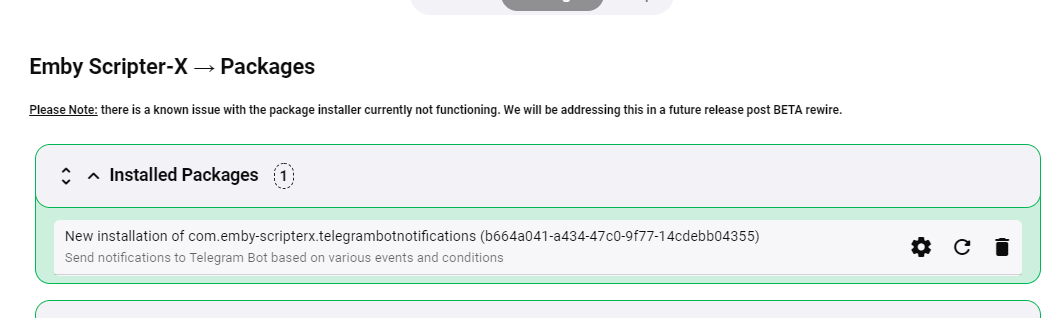
Also note - once you've installed an instance of a package, the files can be edited if you have access to the server filesystem. They're stored in your emby data folder. On my windows dev laptop, they're stored at: C:\Users\Hunter3DPrinting\AppData\Roaming\Emby-Server\programdata\data\ScripterX\Packages\{package-instance-id} eg: Inside this folder is your package files: Make changes to your Package.js, then hit the 'reload button' (little circle) next to the package listing in your Emby dashboard: And don't forget, any configuration/settings that you've setup for your Package's config interface can be accessed by hitting the 'cog button' next to the package listing in your Emby Dashboard: Once you click the Cog, it will turn into a 'Save' icon, where you can save any changes to your package instances configuration: and note that these text boxes here in my example package were defined and created by creating a PackageConfig.html with the contents: Bot Token: <INPUT TYPE="TEXT" NAME="BOTTOKEN" VALUE="%BOTTOKEN%"><BR/> Chat ID: <INPUT TYPE="TEXT" NAME="CHATID" VALUE="%CHATID%"><BR/> Which coincide with my PackageConfig.xml: <?xml version="1.0"?> <PackageConfiguration xmlns:xsi="http://www.w3.org/2001/XMLSchema-instance" xmlns:xsd="http://www.w3.org/2001/XMLSchema"> <Settings> <Setting> <Id>BOTTOKEN</Id> <Value>[hidden for security purposes]</Value> </Setting> <Setting> <Id>CHATID</Id> <Value>[hidden for security purposes]</Value> </Setting> </Settings> </PackageConfiguration> and these configuration values are accessed in my Package script (Package.js) via: telegram_bot_token = ScripterX.Config.Get("BOTTOKEN").StringValue(); telegram_chat_id = ScripterX.Config.Get("CHATID").StringValue(); Nice and easy, I've tried to make it as easy as possible such that I can give even the more novice of end users the ability to create their own scripts etc. My simple sendNotification function is just a javascript function that does the following:- function sendNotification(notification_msg) { var submit_notification_url = telegram_api_url + telegram_bot_token + "/sendmessage?chat_id=" + telegram_chat_id + "&text=" + notification_msg; ScripterX.Web.Post(submit_notification_url, null); } Which is activated by two ScripterX subscription methods in my Package.js, onPlaybackStart, onPlaybackEnded: function _onPlaybackStart(context) { sendNotification("User " + context.Token("%username%").value + " has started playing " + context.Token("%item.name%").value + " on your media server."); } function _onPlaybackStopped(context) { sendNotification("User " + context.Token("%username%").value + " has stopped playing " + context.Token("%item.name%").value + " on your media server."); } And there are a bunch more available subscription methods, which you can see on the wiki: https://wiki.emby-scripterx.com/doku.php?id=packages I hope this kinda explains a bit more about packages, but there are also other cool things packages can do like extend the Emby API, etc. It's all basically there on the wiki, but working on getting better documentation together. I'm excited to see what creations people can make with ScripterX! Warmest regards, Anthony M
 1 point
 -
Thanks mate, understood. I have quite a few DVD ordered tvshows that TVDB sorted for me just fine (TMDB not so much) . Yeah, it sounds like a lock and repeat.. That's all good. The "TMDB Episode groups support" thread looks interesting, I think everyone should give support to that!1 point
-
Yeah, what's needed is TMDB Episode groups support, you can lend your support here: Nope, you can only change fetcher order in library settings, Refresh Metadata on desired item, lock it afterwards to prevent changes and revert fetcher order to initial. Yeah, a bit of a chore.1 point
-
You'd bump TMDB on both Series and Episode fetcher list; note that that affects all metadata scraped, not actors only. Also, you can make use of @mickle026's People Backup/Custom Providers plugin to obtain Actor images, check it out:1 point
-
Sorry, no there is a global, per library, and per item option for language. There is no library per folder level option.1 point
-
I just pushed a reworked how it finds the xml file. Please report back any issues. A quick test appears to be working. 2022-04-22 18:10:18.687 Debug Statistics: C:\Users\Media\Desktop\Stable\programdata\cache\tvdb\74875\en.xml 2022-04-22 18:10:18.694 Debug Statistics: The Closer 2022-04-22 18:10:18.694 Debug Statistics: 109 2022-04-22 18:10:18.694 Debug Statistics: C:\Users\Media\Desktop\Stable\programdata\cache\tvdb\79755\de.xml 2022-04-22 18:10:18.695 Debug Statistics: Afro Samurai 2022-04-22 18:10:18.695 Debug Statistics: 51 point
-
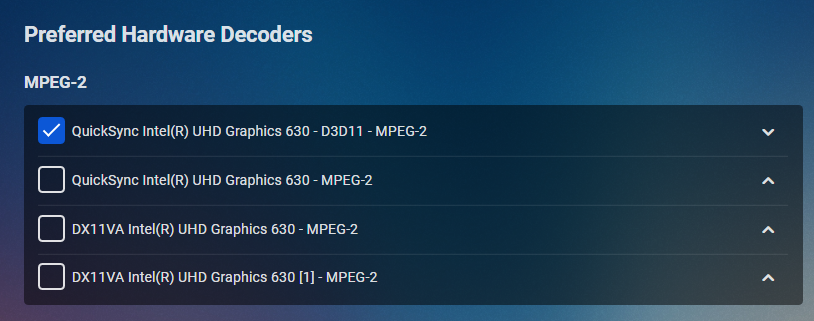
The QuickSync MPEG2 decoder has known issues in certain cases of mp2 videos. That's why we have the DX11VA mp2 decoder at a higher priority in the default setup. I'm unsure why this fails in your case and falls back to software, because the current stable version is out for a long time already and I haven't seen that kind of issue before. As the next release is imminent, I think it's better though, to look forward and re-check with the beta or the .0 release. Thanks, sw1 point
-
You were a great help thanks1 point
-
The general guidance is to set it to "Yes". The default order is exactly the order that you see when switching from "Yes" to "Advanced". A little caveat: if you (and only if you) had set it to "Advanced" already, then choose "Yes", then "Save", then change selection back to "Advanced", you'll still see your previous advanced settings (and you'd be able to save this and have your previous state again). To see the defaults, you'd need to navigate away and back after saving "Yes" (or refresh).1 point
-
All good, the sync ran completely and played a show and all work well so far! Thanks1 point
-
The desktop app does not yet have pip but stay tuned1 point
-
It tries as fails. 20:47:42.020 [mpeg2video @ 00000252c71bac00] Invalid frame dimensions 0x0. 20:47:42.095 Stream mapping: 20:47:42.095 Stream #0:0 -> #0:0 (mpeg2video (native) -> h264 (h264_qsv)) 20:47:42.095 Stream #0:1 -> #0:1 (ac3 (native) -> mp3 (libmp3lame)) 20:47:42.095 Press [q] to stop, [?] for help 20:47:42.129 Impossible to convert between the formats supported by the filter 'Parsed_null_0' and the filter 'auto_scaler_0' 20:47:42.129 Error reinitializing filters! 20:47:42.129 Failed to inject frame into filter network: Function not implemented 20:47:42.129 Error while processing the decoded data for stream #0:0 20:47:42.130 [libmp3lame @ 00000252c7b58ec0] 3 frames left in the queue on closing 20:47:42.133 Conversion failed! Can you update your graphics driver? The indicated SDK version is: 1.33. The device is 'HD Graphics 630'. On Windows, the maximum SDK versions are 1.11 (3rd gen), 1.20 (4th and 5th gen). All newer CPUs are still getting updates, and should have drivers >= 1.34 Also can you test setting a different decoder then "DX11VA - mpeg2". Transcoding menu "Enable hardware acceleration when available:" from Yes to Advanced. example
 1 point
 -
On the topic of filtering requests, the following filters would be useful things that I don't *think* you can currently filter by: >"Is in collection" / tree crawl / list (you could search things from multiple collections, or only things that are in multiple collections, for instance) >"show has watched/unwatched episodes" >"is next unplayed episode" / "is next up" It could be handy for making a playlist that collects your various "next ups" of stuff you're watching, or making a playlist to remind you of stuff you started but didnt finish (just combine it with something to check and make sure the show hasn't been watched in the past month, for instance). Just some ideas. Keep up the good work!1 point
-
I wouldn't do that, because if you read the help text, this is likely to cause playback failures in other situations. Instead I would look at the stats feature in the video player to learn why it was transcoding, and then address that. For instance, you might have configured some other option that is causing it.1 point
-
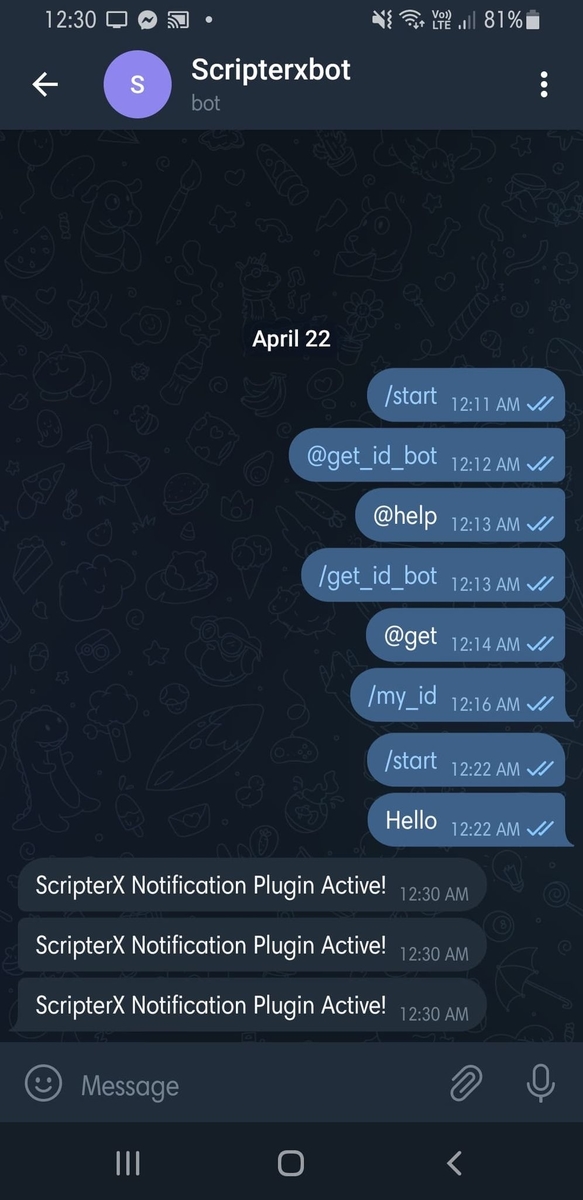
Hey @darkside40 - thank you so much for the inspiration for including a Telegram package in ScripterX, check out the last post on https://emby.media/community/index.php?/topic/84816-new-plugin-custom-scripting-emby-scripterx/page/22/ All inspired by this thread and your awesome idea for a plugin. Thank you!
 1 point
 -
That GitHub repo is all placeholders. I wish them luck. It isn't hard to figure out, but it is time consuming to write it all. I'm interested on their take. I'm going to star that GitHub repo, and I'll be watching how they do it. In other words, I'll be watching the code closely... Very closely. Especially if I see one specific part of our code in there... The one that calculates things as fast as it does. Trust me it could have taken much much longer to scan your libraries if it wasn't for this one piece of code. ... Very closely As for the integrated version being behind a paywall. The Emby team rebuilt their version of the code. That code isn't mine. The ideas and logic behind what emby wrote might have been inspired by, but not our code. Therefore, I can't comment on how it is implemented, only that I'm very glad that it is. I completely support further development of the intro skip in it's new direction. But, I will also keep an eye on how this plugin is received, and maintain it to work with up coming emby releases. A lot of work went into the plugin, and we (that whole team) didn't ask for a cent. I'm good with people using it for free. A Tron, for the users sort of thing.1 point
-
New update for latest version of Emby beta + some small adjustments for the official Intro Skip beta. The update can be found in the main post and is called "style-EmbyBeta-v3.txt".
 1 point
 -
@Olroy12 are you trying to sign in with Emby Connect, or with the credentials of a user on your server?1 point
-
Nope, you can't get multiple Character images, just single image (one per actor). Actors are db entities and can have only a single image associated. If you scrape from TVDB, it'll be first one that was grabbed (which is somewhat annoying having a cartoon image under a movie same actor starred in). Exact reason why I was pushed towards scraping actors from TMDB. Though, tbh, haven't let Emby scrape TVDB images in a long time, there was some discussion about it, don't know if it's still scraping Character image or Person image, @Happy2Play?1 point